Monday, November 06, 2006

MONDAY, MONDAY

Well, I survived the weekend! It was busy, but very fun. Started out Friday night by going to the high school play that my daughter was in. She had a small role, but did an incredible job. The play itself was a little strange (Jabberwalk)...but fun to see her stepping out of her comfort zone and getting on stage.

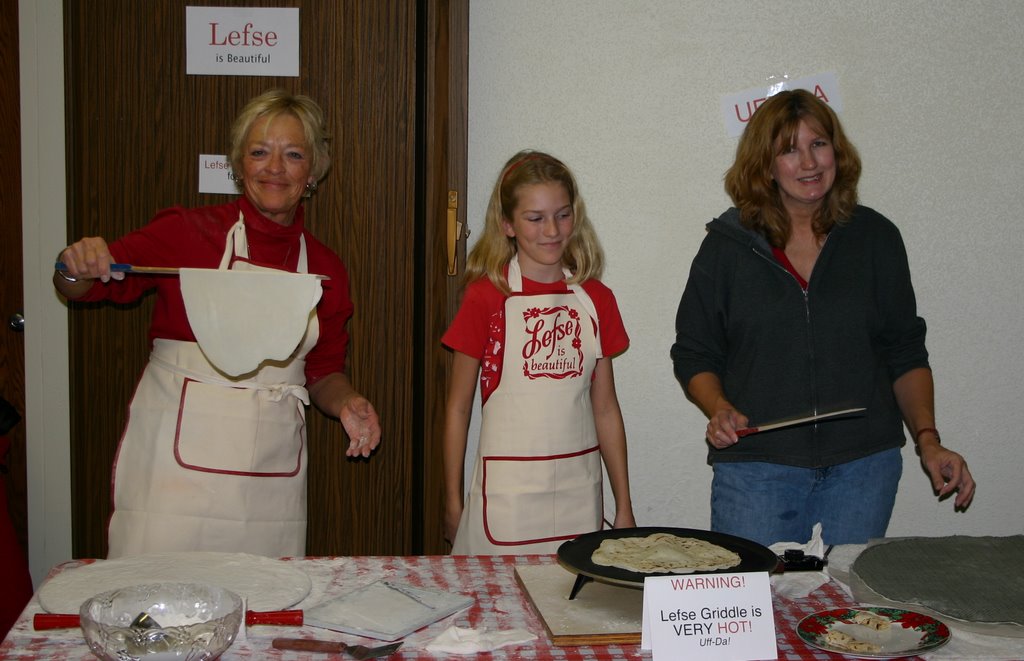
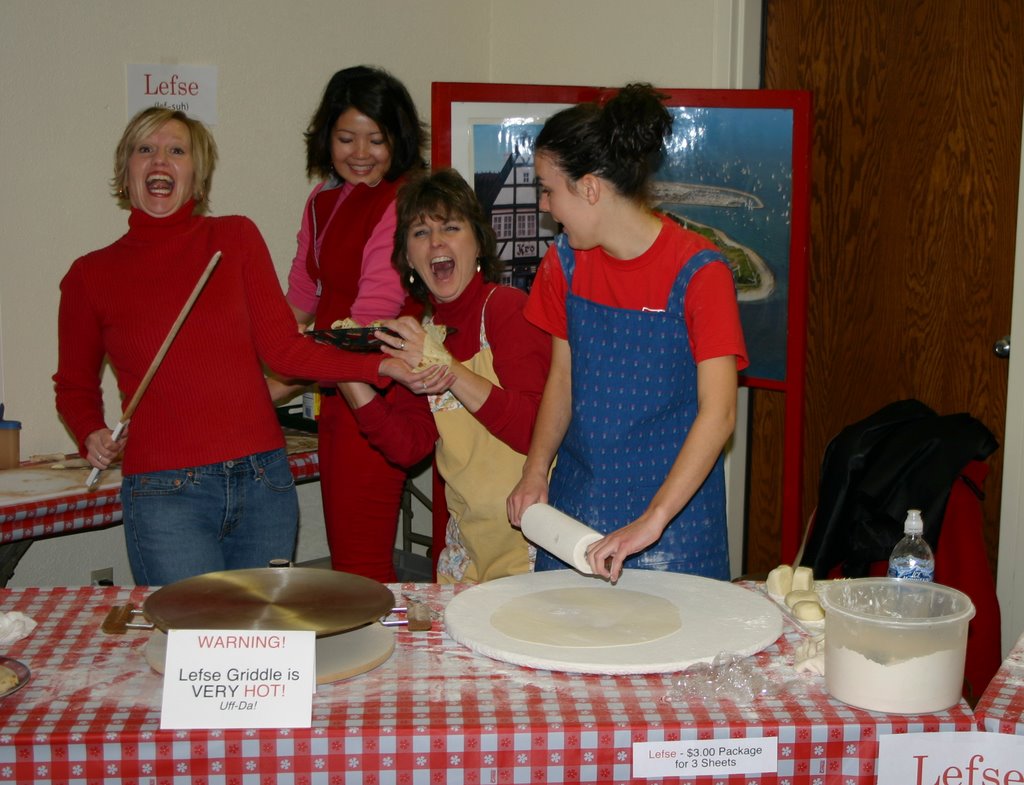
Saturday was spent rolling lefse at our church's 'Christmas Walk'. (Our semi-annual fall festival). Coming from Minnesota where everyone KNOWS about lefse, I was surprised by how few people had ever even heard of it. So, for many, this was their first taste. I had prepared 54 packages for sale and in the first 1 and 1/2 hours not a one had sold! I was quickly figuring out in my mind all my friends and family that I could give it to!! But when all was said and done, every single package had sold and we had only a few of the ones we rolled out as samples left.

I had a CRAZY crew of friends help me with this endeavor.

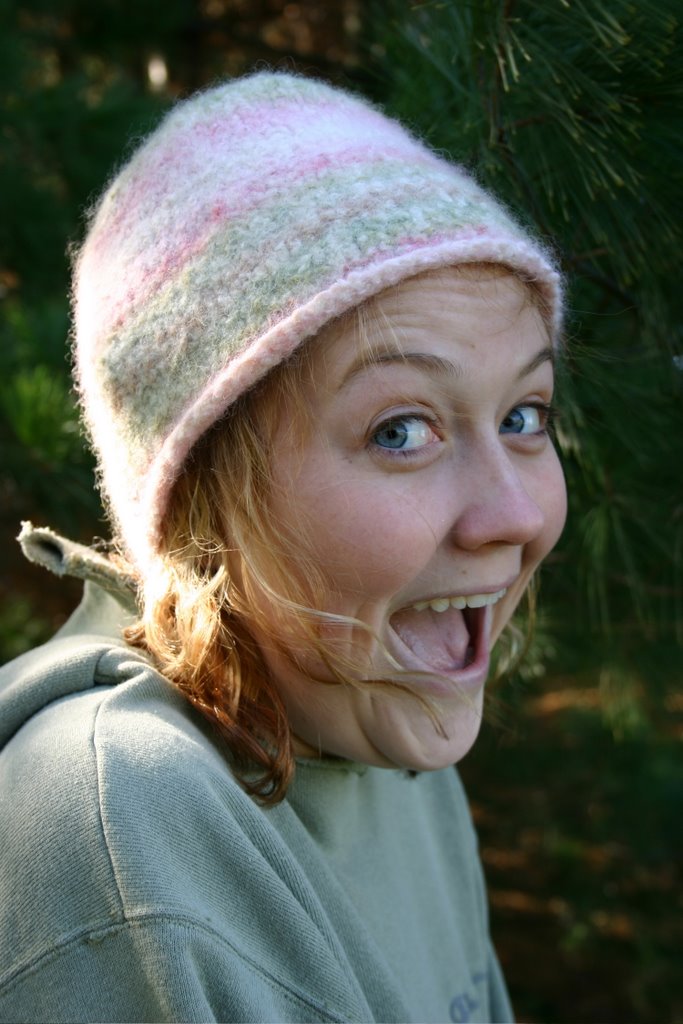
(Here I am in the middle of them trying to show the plate of samples, which, of course came cascading down!)

No, I am not that short (I'm really QUITE tall) and yes, my mouth is that big!!


Some of the 'hired' help. (They worked for lefse samples!!)


Sunday, I went with the gals I work with and my daughter to see 'Joseph and the Amazing Technicolor Dreamcoat' at the Gallagher Performing Arts Center here in Cedar Falls. What an amazing show! Very enjoyable.


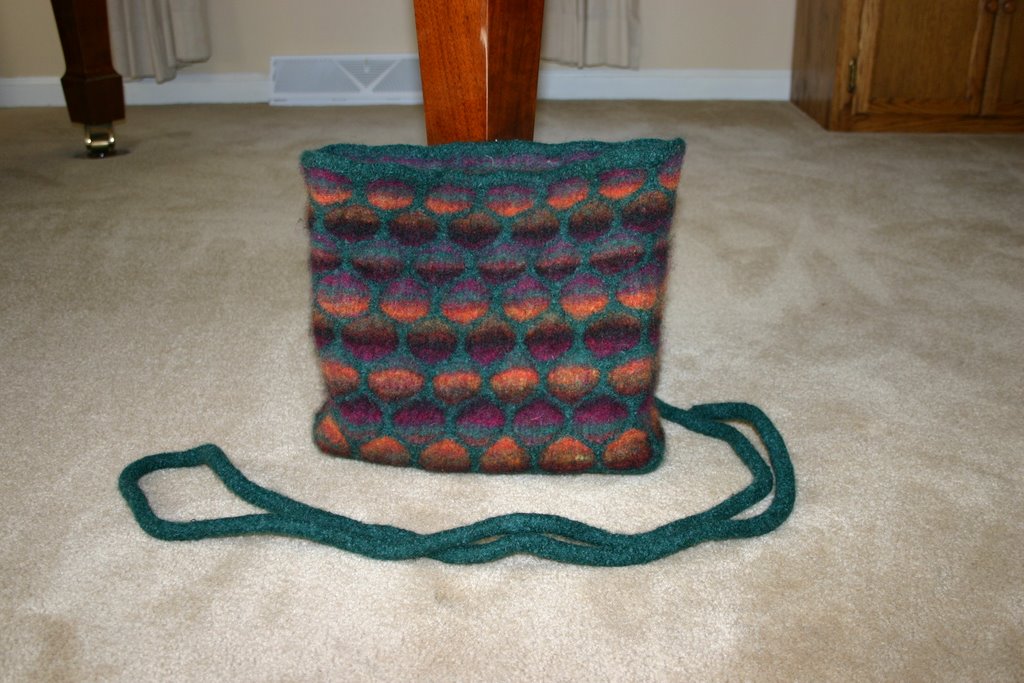
In between all of this, I was working on a bag that someone had special ordered for her daughter, who just happens to be a fairly well-known Christian singer (especially around here as she is from Cedar Falls!) So this bag will be heading to Alli Rogers for her birthday. How fun is that?

Now that this bag is finished, I can keep working on my RunAmok KnotSewHobo bag for my Bag-A-Holic group! I have changed color schemes three times since I first printed off the pattern....finally settling on a red/gray color combo...
Hope to have some time tonight to work on it.


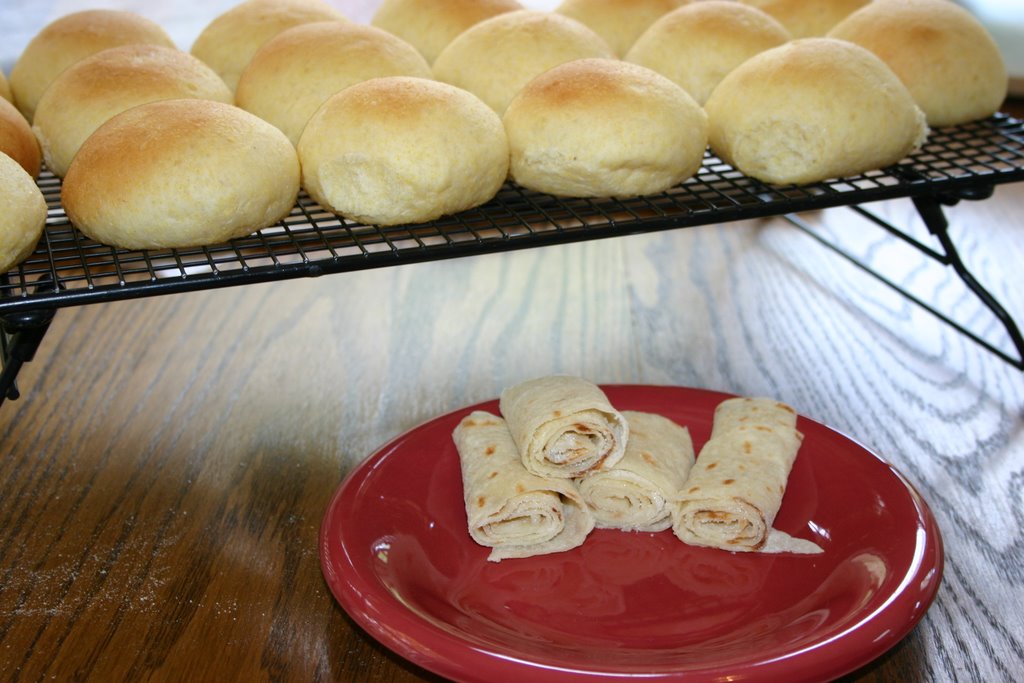
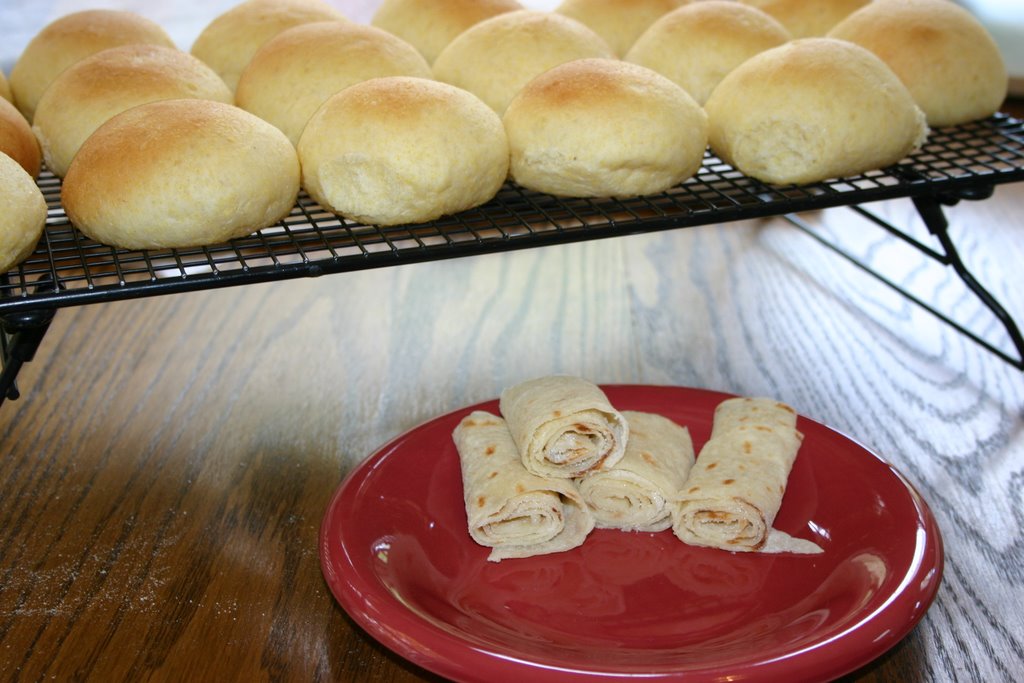
Also made up a batch of rolls for the family. Although my cornbread rolls are popular with them, they also love the following breadmaker rolls, so I often will make a batch of each.
White Bread Maker Rolls
1 cup scalded milk
4 Tbsp. butter or margarine
l egg
3 1/2 cups flour
4 Tbsp. sugar
1 tsp. salt
2 1/4 tsp. yeast (1 package)


1. Add ingredients in order given into your bread maker.
2. Use your dough and first rise cycles.
3. Remove, shape into rolls.
4. Let rise 30 minutes.
5. Bake at 375 degrees for 10 - 12 minutes or until golden brown.


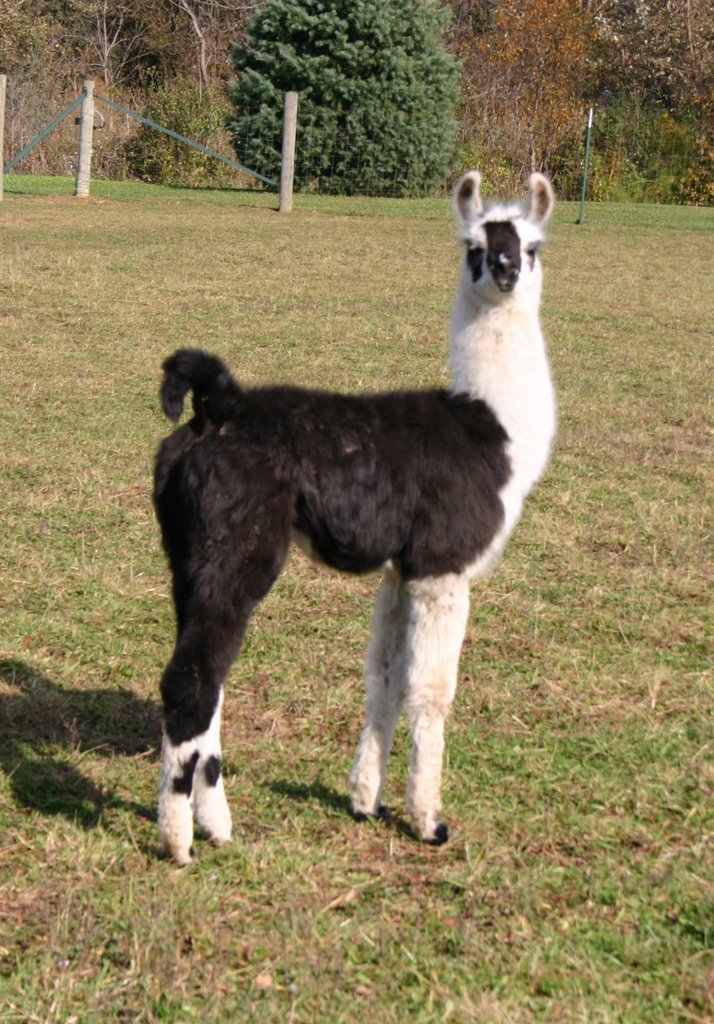
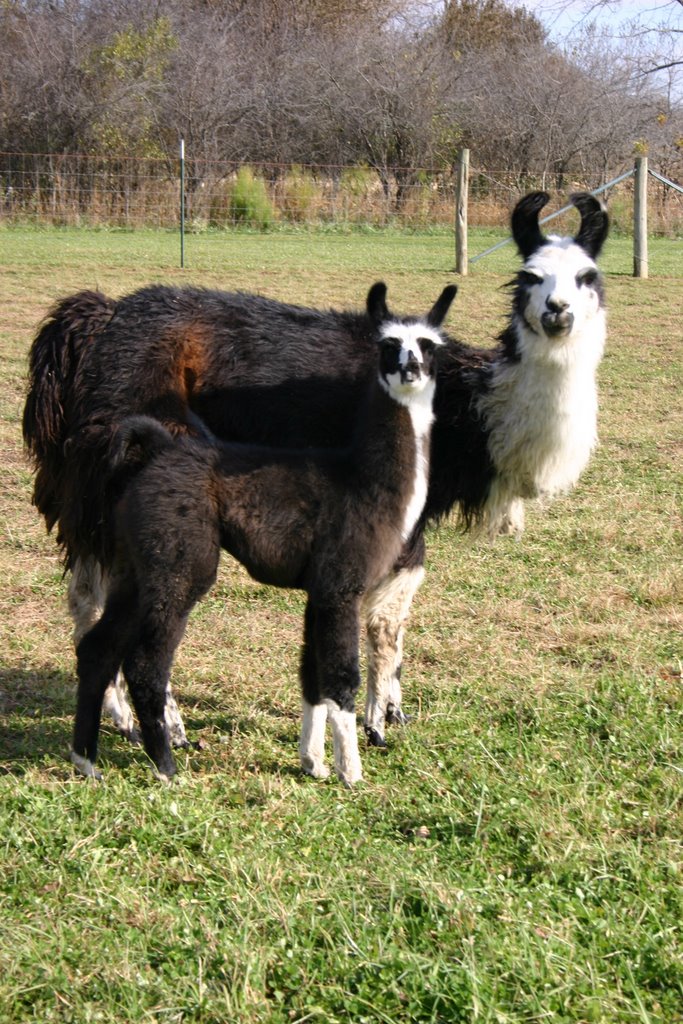
Ended the weekend with a visit from the 'llama girls'. The two llamas that are 'cushed' have been trained to do this on command! Really quite amazing!


As the saying goes... "If you are lucky enough to love a llama, you are lucky enough".

Until next time.....

Thursday, November 02, 2006

TOTE=Kisses and a HUG


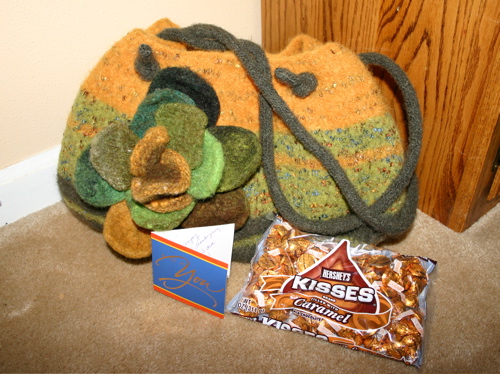
What an exciting morning for me! It was just a little after 8:00 am this morning when I saw the FedEx truck pull into the driveway... I knew what he was bringing and I flew to the door! (Never mind the fact that I was still in my pajamas) It was my tote from Tora who had my name for the International Tote Exhange II that I have been a part of. So with hair all askew I opened the door and happily thanked the bewildered man for my precious box. Then I ran to the kitchen to open my treasure... and what a treasure I found. The most GORGEOUS bag that I have seen. I am not sure if my pictures do it justice, but it is wonderful wonderful wonderful!! Tora told me that this is the first one of her original design and knit especially for me :-) I am so thrilled. And, to top it off, she included my very favorite kisses... you know.. the ones filled with caramel?! Am I lucky or what? I feel like I have been given a big HUG along with my chocolate kissses. Thank you, Tora!!

Speaking of Hugs, check this out: FREE HUGS

We all need our daily dose of HUGS! Hug someone you love right now!! Or, just wrap your arms around yourself and give yourself a big hug!! Or do both! You can never have or give too many hugs!

Until next time.....

Wednesday, November 01, 2006

Biscotti is Beautiful....


Well, I have had numerous requests for my biscotti recipes and thought it may be time to post a Biscotti tutorial! I am certainly no expert, but I do love it and am trying to master the art. I would like to start out with this photo of myself and my Kitchen Aid mixer. I LOVE my mixer. I use it everyday. It is a workhorse and never lets me down. And it is the starting point of all my biscotti.....

With that said, I will move on to the basic Biscotti recipe:

Biscotti

2 large eggs
2 large egg whites
1 tsp. vanilla
1 cup granulated sugar
2 cups unbleached flour
1 tsp. baking soda
1/4 tsp. salt
3/4 cup almonds

1. Preheat oven to 325 degrees.
2. Lightly grease cookie sheet with vegetable oil.
3. In a large bowl combine eggs, egg whites, vanilla. Mix well.
4. Add sugar, flour, soda and salt. Beat until dough forms. Stir in nuts.
5. Put dough on lightly floured board. The dough will be very sticky.
6. With clean floured hands and with the aid of a scraper, knead dough several times. Divide dough in half.
7. Be sure to keep hands well floured and form dough in to 2 flatish logs, 15 inches long, 2 inches wide.
8. Place logs on a baking sheet 3 inches apart. Bake for 40 minutes.
9. Remove from oven and cool 10 minutes.
10. AFTER the 10 minutes reduce heat to 275 degrees.
11. On cutting board, diagonally cut 3/4 inch slices. Arrange slices on baking sheet and bake 10 - 12 minutes. Flip cookies and bake another 10 - 12 minutes.
12. Turn off oven and let crisp for 15 minutes.
13. Remove and cool completely.


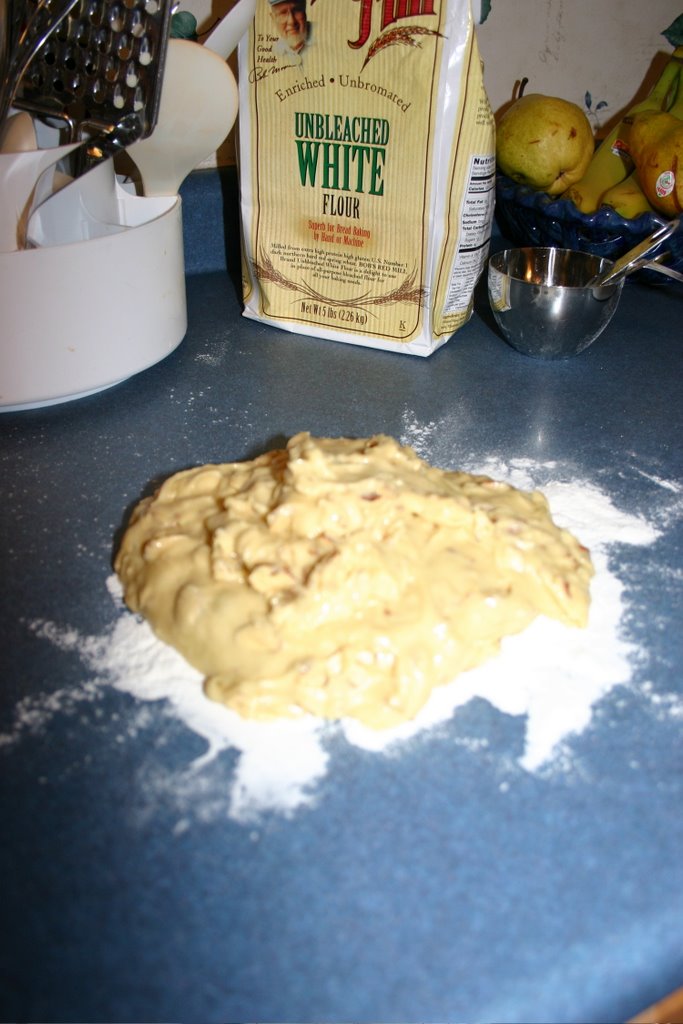
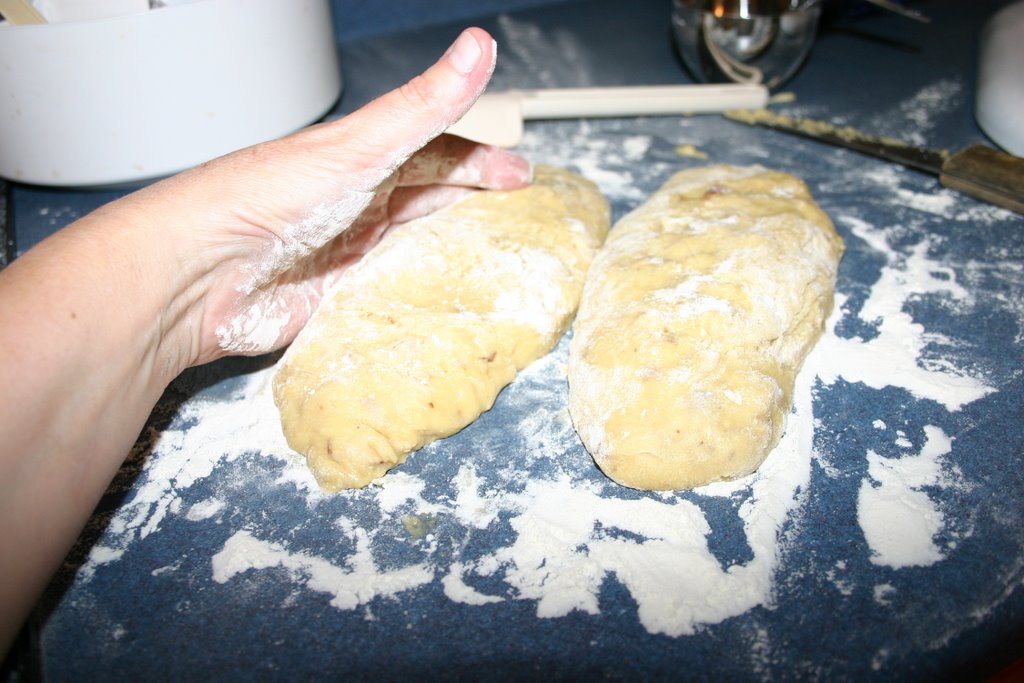
Now, for some pictures.... After you have the dough mixed, put it on a floured board, or countertop. The dough will be quite sticky at this point. Gently knead the dough with the flour until the stickiness is about gone. ( I like to make sure my hands are well floured, as well as the counter top.)


Once you have done this, divide the dough into 2 equal pieces.


Being sure to keep your hands well-floured transfer the two biscotti pieces onto a cookie sheet that has been lined with Parchment paper.
Shape each into a log that is about 15 inches long and two inches wide. They are now ready for their first trip to the oven. This batch will bake at 325 degrees for 40 minutes.


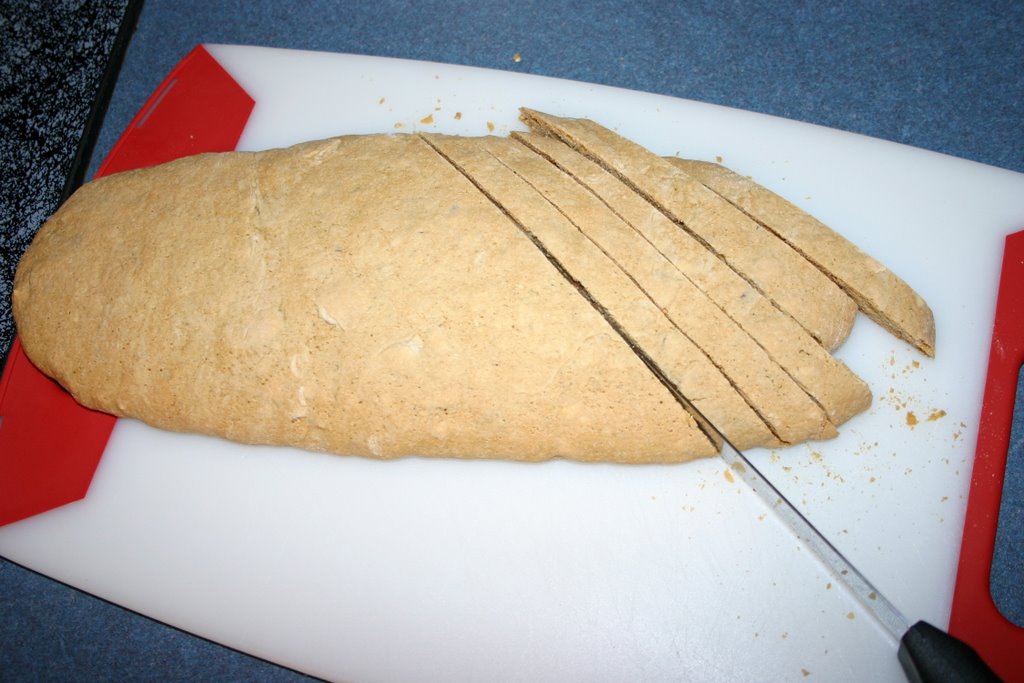
After the 40 minutes, take the biscotti out and allow to cool for 10 minutes. You will then transfer the biscotti to a cutting board and cut it diagonally in about 3/4 inch slices. The very end slices should be cut and eaten immediately by the cook!! (At least, this is what I have always done and it seems to help!)


After the 10 minutes; turn the oven down to 275 degrees. Place the cut biscotti on it's side on the baking sheet and return to the oven for 10-12 minutes. Flip the biscotti and bake another 10-12 minutes. After that, turn the oven off and let sit in the oven for another 15 minutes to let crisp.


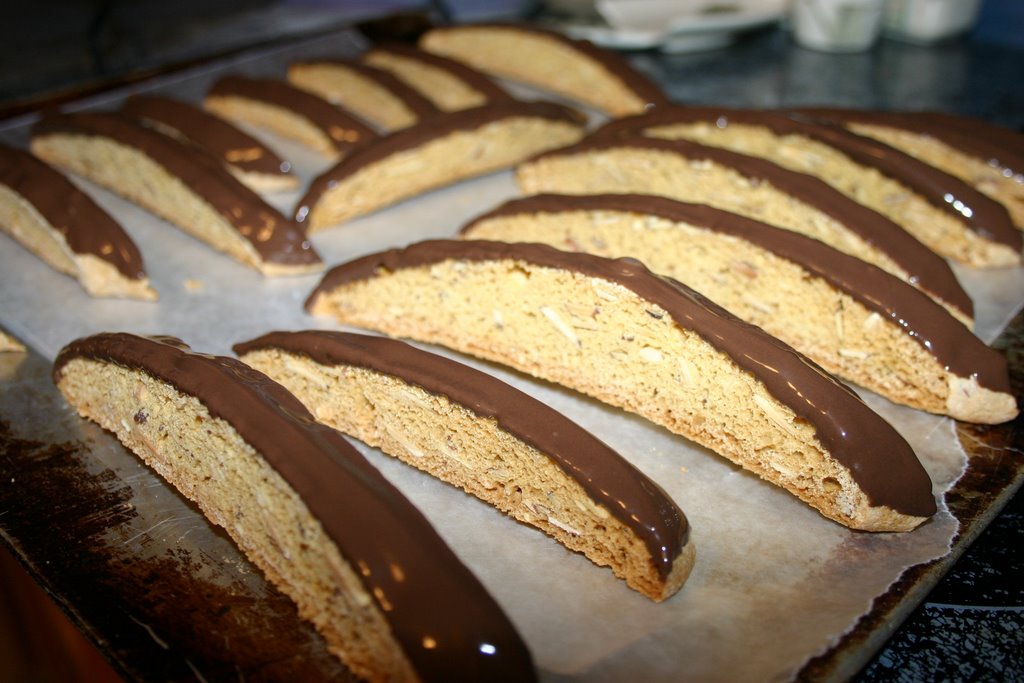
For all practical purposes, your biscotti is now done. But what is good, can be made GREAT with the simple addition of chocolate!! I like to use the boxed Ghiradelli Double Chocolate melting chocolate that I get at our local Sam's Club. It's the best. Here I have dipped the tops of the biscotti to ensure a little chocolate with every bite.


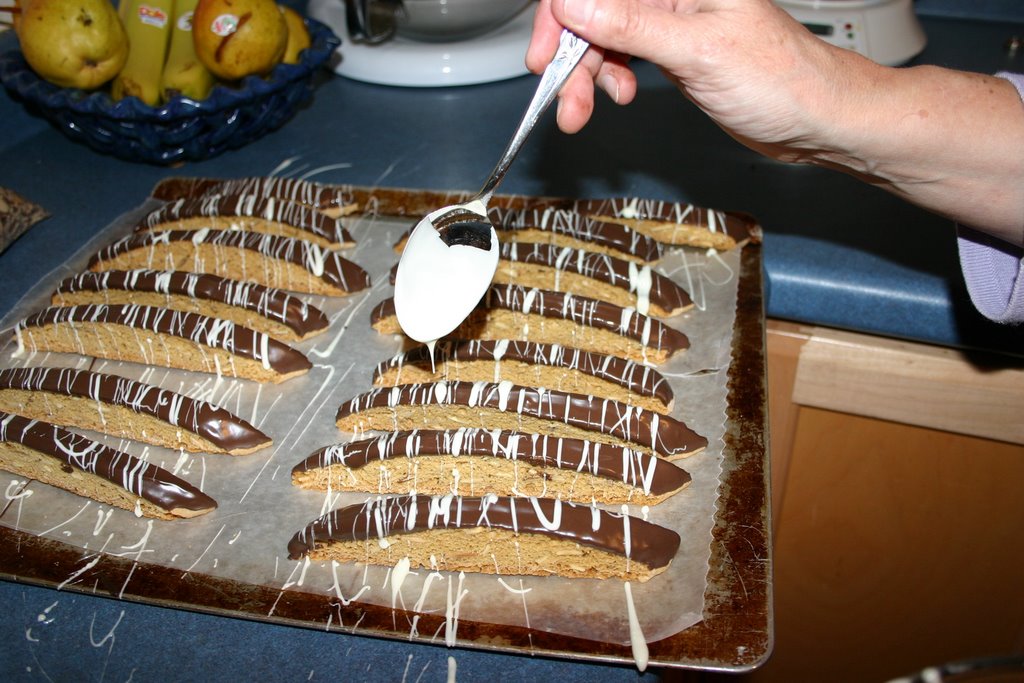
The Ghiradelli White Chocolate can be drizzled on the biscotti for added pizzaz.


Now, grab a cup of coffee and enjoy!


Oh, and what have we here? My daughter with spoon in hand dipping into the leftover melted chocolate and trying to make off with my boxes of dipping chocolate. Well, at least she's not trying to steal my biscotti......


And now all this baking has bought me some KNITTING TIME!! (which is the real reason I bake!!) I have my yarn ready to cast on the newest bag for my Bag-a-Holic group... The RunAmok KnotSewHobo bag. I have been wanting a basic blue bag and I think this is the perfect pattern for it. I have a busy few days ahead getting ready for our church's Christmas Festival, but I hope to sneak in knitting now and then.


I'm also working on this Irish Hiking Fingerless glove. I need to learn the mattress stitch to do the seam and then knit the second one, but I am very excited about these. I have never cabled before, so this was a first. I have some practicing to do, but I am so happy with how it turned out. Hope to wear them next week....


Well, off to try my biscotti...

Monday, October 30, 2006

LEFSE WARRIOR...


Well, I promised I would post after I made my first batch of lefse and to give you my recipe. Well, today is the day.

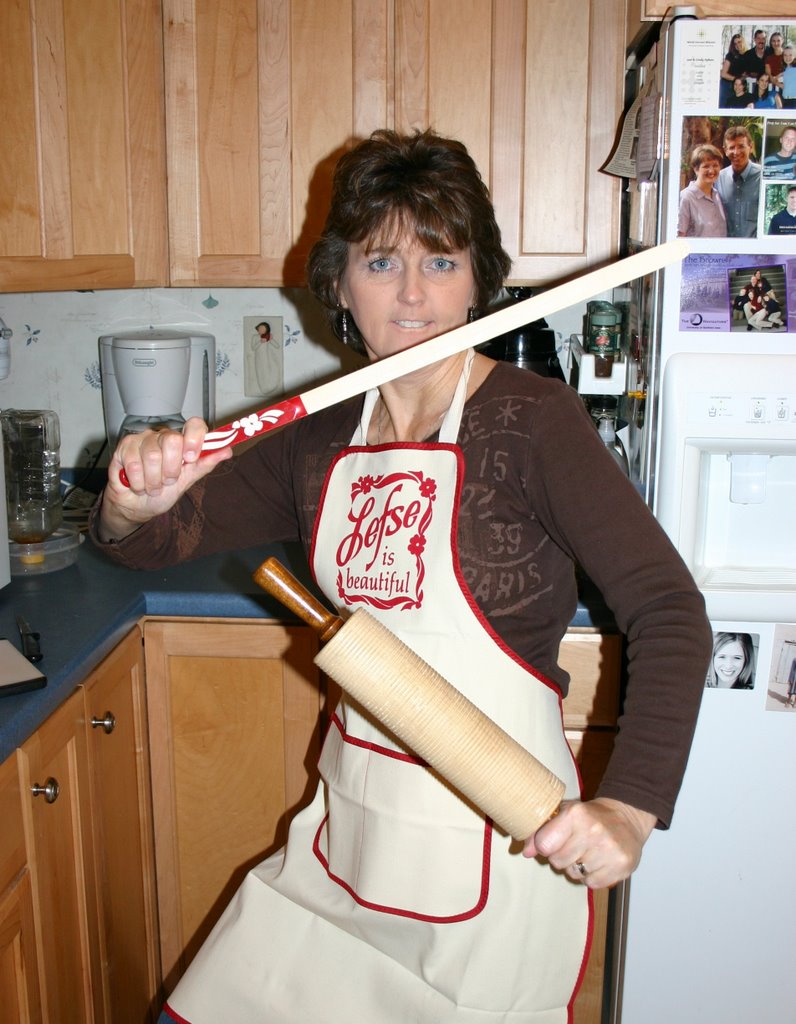
I asked my daughter to take a picture of me with my new lefse apron on. Wasn't sure how to pose with my rolling pin and lefse turning stick.
She suggested a 'warrior' pose. ??? (I guess I am out to conquer lefse!)

So here I am; weapons in hand; ready to roll!


The first thing you need to do is prepare the lefse and get everything ready to roll.


Here is the recipe that I use. It calls for instant potatoes (my mom has always told me that Hungry Jack are the best.. so that is all I use!!)


Easy Potato Lefse


3 cups instant Hungry Jack potatoes (dry)
3 cups water
1 Tbsp sugar
1/2 cup butter
1 cup powdered milk
1 1/2 cup flour
1 2/3 tsp. salt

1. Mix instant potatoes, sugar, powdered milk and salt in large bowl.
2. Bring water and butter to a boil and add to
the dry mixture.
3. Mix well.
4. Cover with a damp cloth and refrigerate overnight.
5. The next day, add the flour and mix well. (I do this in my Kitchen Aid mixer)
6. Cut into 16 even pieces.
7. Roll the lefse dough, using lots of flour and a grooved rolling pin, on a pastry cloth into a 12 to 14 inch diameter circle.
8. Pick up the lefse, using your lefse handling stick (or yardstick) and gently put onto a
preheated (HOT) lefse frying pan.
9. Fry for about 1 minute and turn the lefse.
10. Fry for 1 more minute (give or take...it should have some small brown patches on it and should bubble up when turned. )
11. Put cooked Lefse into a Lefse Cozy.

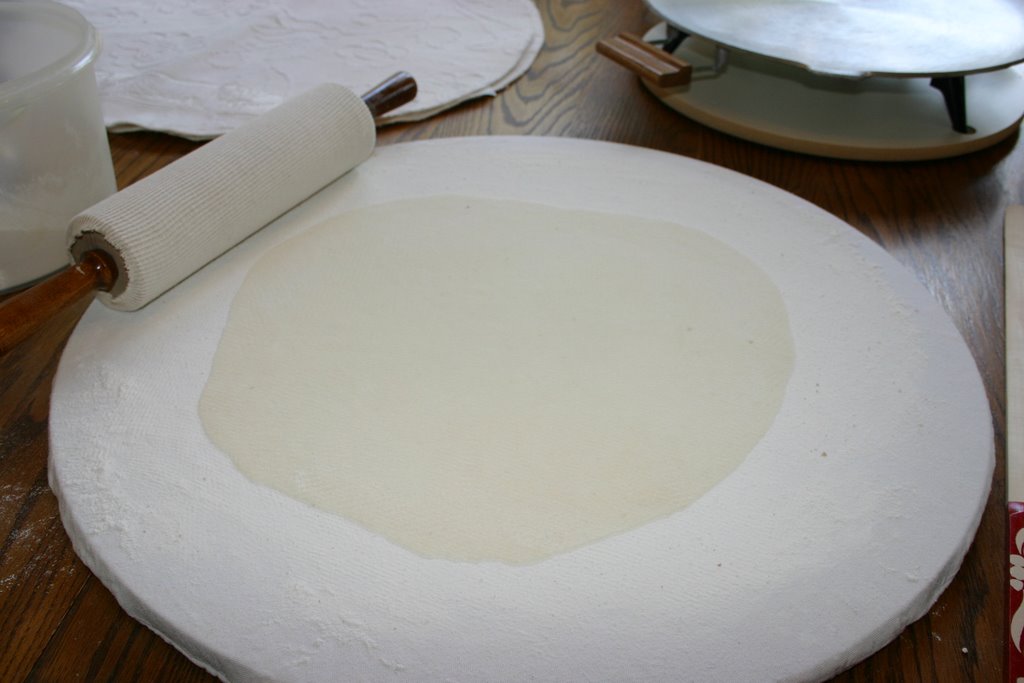
Here are some step by step photos:


1. Lefse is rolled on a large cloth covered board with LOTS of flour! Be generous with the flour and re-flour board after every piece! Here is a piece of lefse rolled out and ready for the grill.


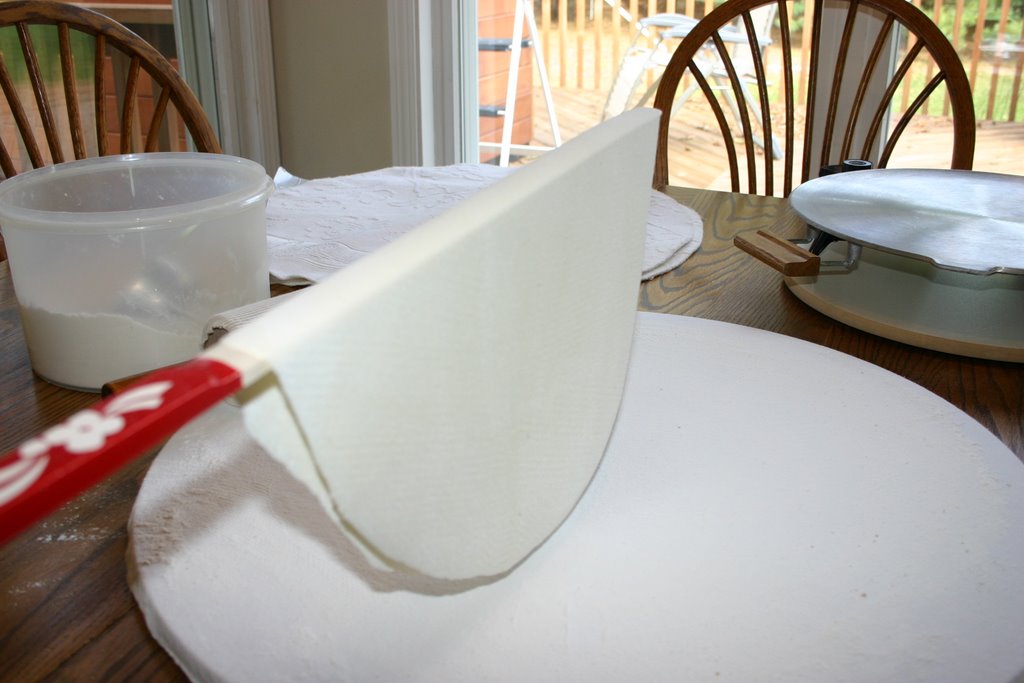
2. Picking up the rolled out piece on the turning stick. Lefse is fairly fragile. Make sure you pick it up at the center and gently shake off excess flour.


3. With your stick, roll the lefse gently onto the griddle. (which should be pre-heated and VERY HOT!...note the board I have under my griddle. You do not want the griddle directly on your counter top or table. Make sure it is on a surface that can handle the heat!)


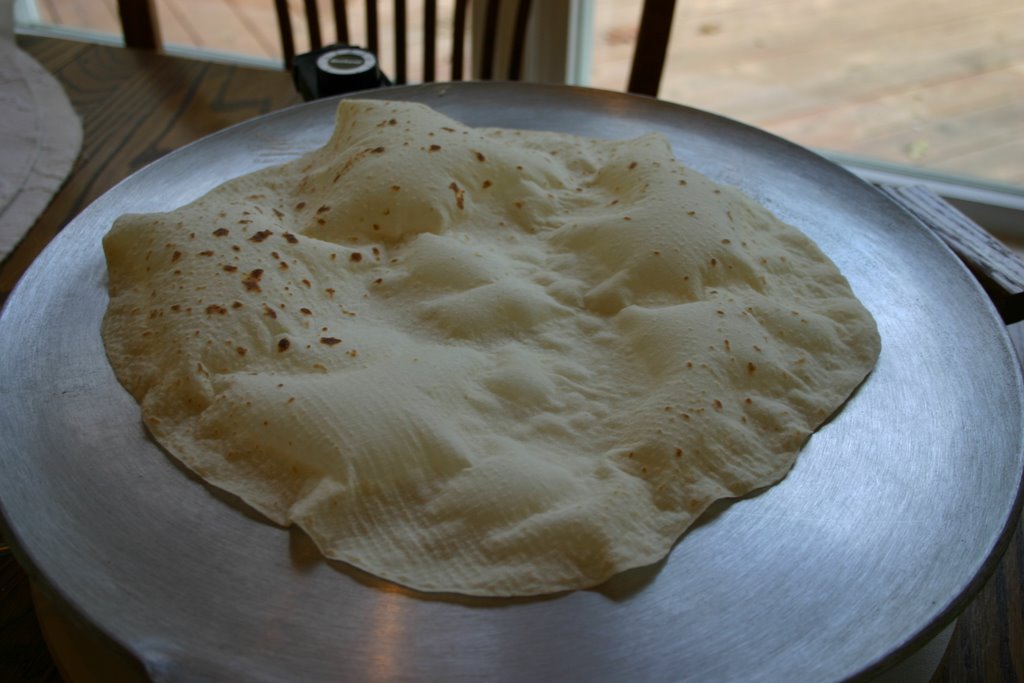
4. The lefse cooks in a very short time. When it bubbles all over you turn it and then it will finish cooking as you see here. (Aren't the air bubbles fun?)
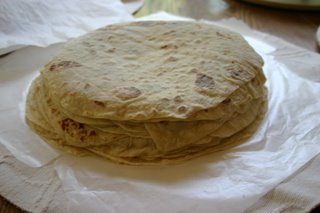


5. Next you move it over onto your stack of finished lefse (in a cozy or newspaper oven*)
It sits in here for several hours and continues to cook and soften.

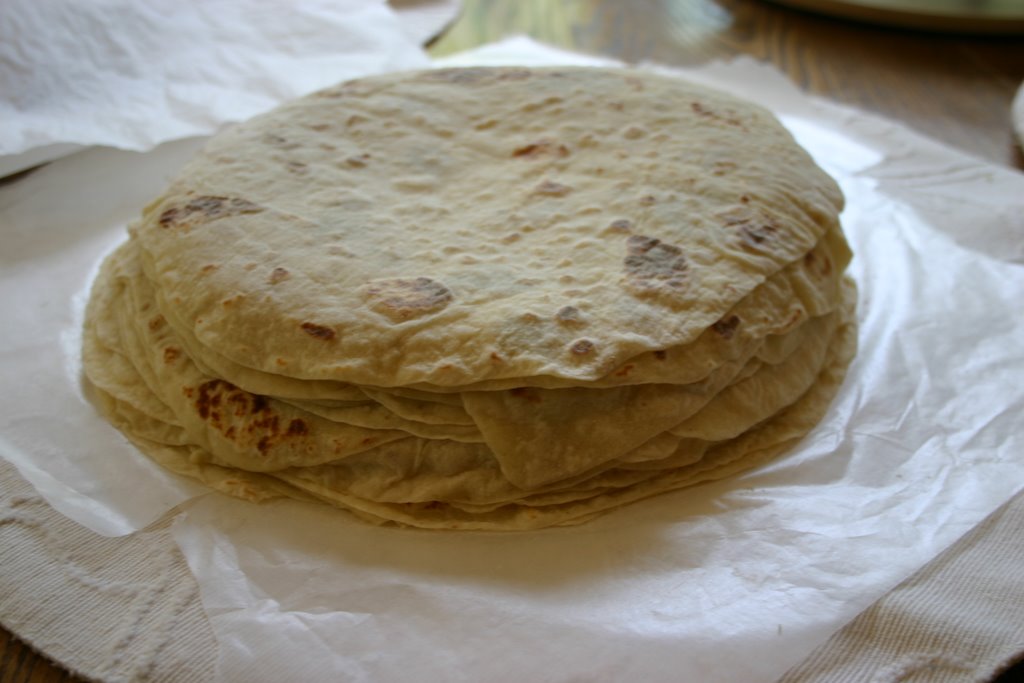
Here is my 'conquered' lefse! Quite a nice stack. Some people call them 'Lefse Rounds' My husband has assured me that it is ok to call them 'Rounds' even if they are not a perfect circle. What a relief. So, here are my Lefse Rounds.

Now you must decide how you are going to eat your lefse. MOST people choose to take the lefse and put a little butter on it and some sugar; roll it up and eat it as a dessert. (I show some done up this way in the picture with my cornbread rolls which I am making 50 of today for my daughter's play practice!!)

Our family, however, eats lefse a little differently. We basically make a 'Swedish burrito' with it! We take a triangle piece of lefse and put on a little mashed potatoes; swedish meatballs; turkey; corn; cranberries, fish etc......whatever is on the table... and roll it up and pour melted butter on it. MMMM..Just typing this out makes me hungry for it. Unfortunately, I don't have any pictures of this, but Thanksgiving is not too far away and I'll be sure to take some.

CONFESSION:
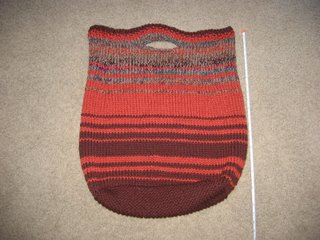

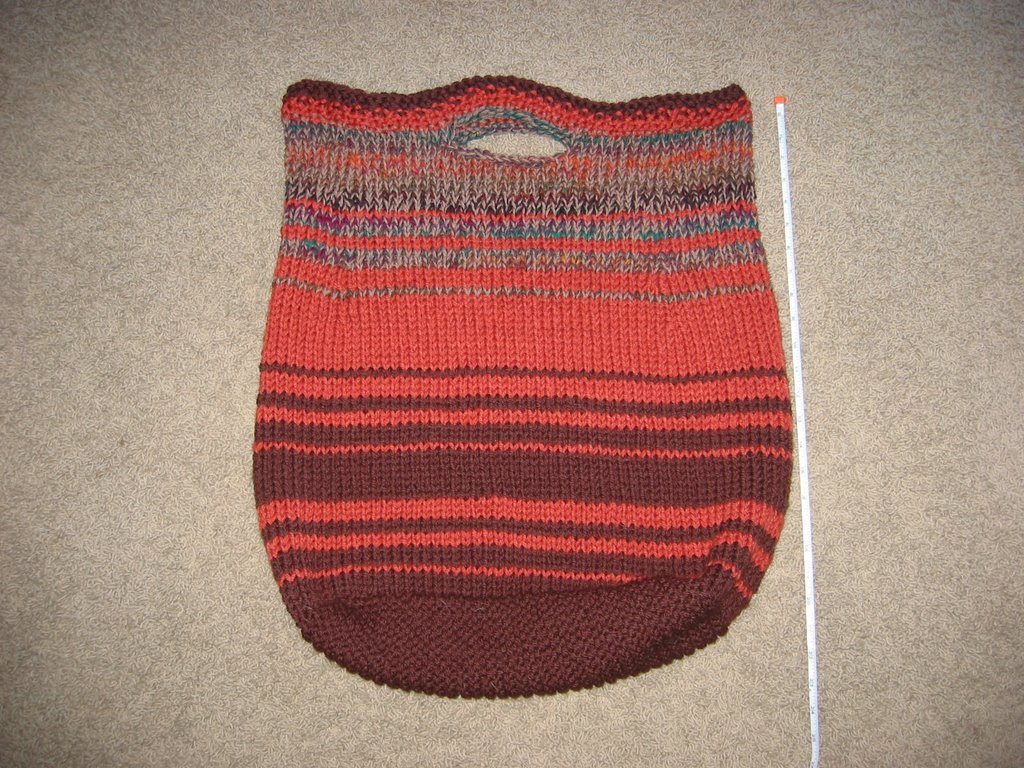
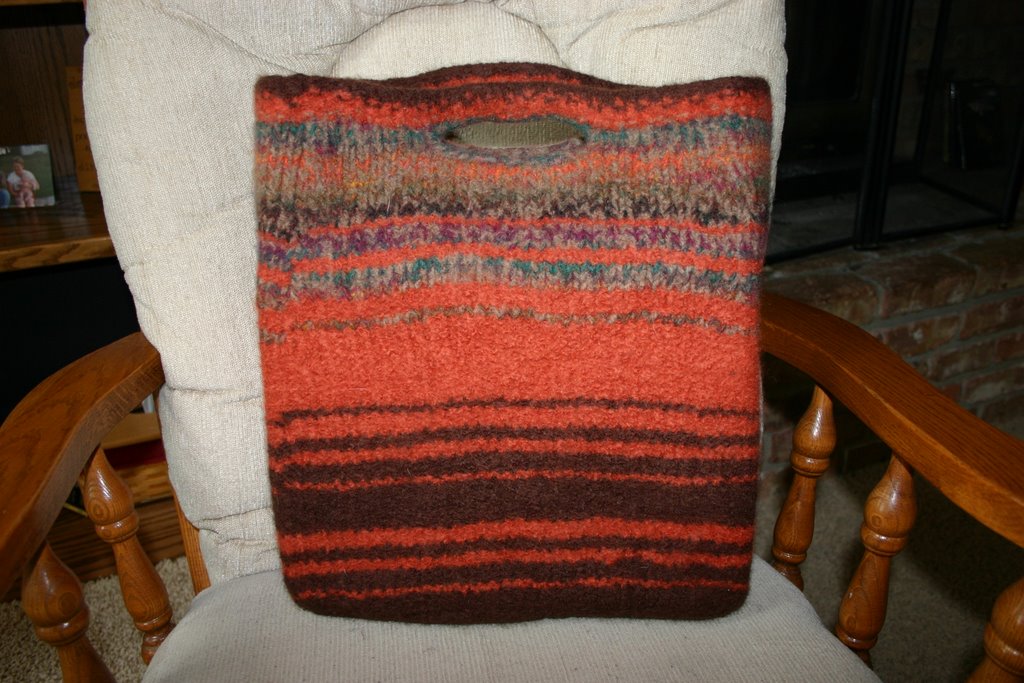
I cast on a bag before my others were finished. I know I said I wouldn't, but I did. I could tell you how I justified it (8+ hours in the car so I needed an easy knit round and round project), but the truth is I just plain wanted to. I saw this Big Bag pattern on Maia's blog. (The pattern link is on the left under Big Bag pattern) I decided to use 2 strands for a very sturdy bag and did it on size 13 needles. It is huge! And I LOVE it! It's not quite dry yet, but I hope to be carrying it later this
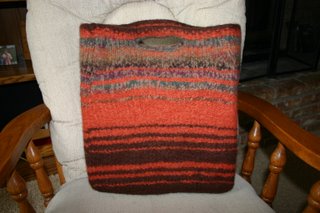
week.


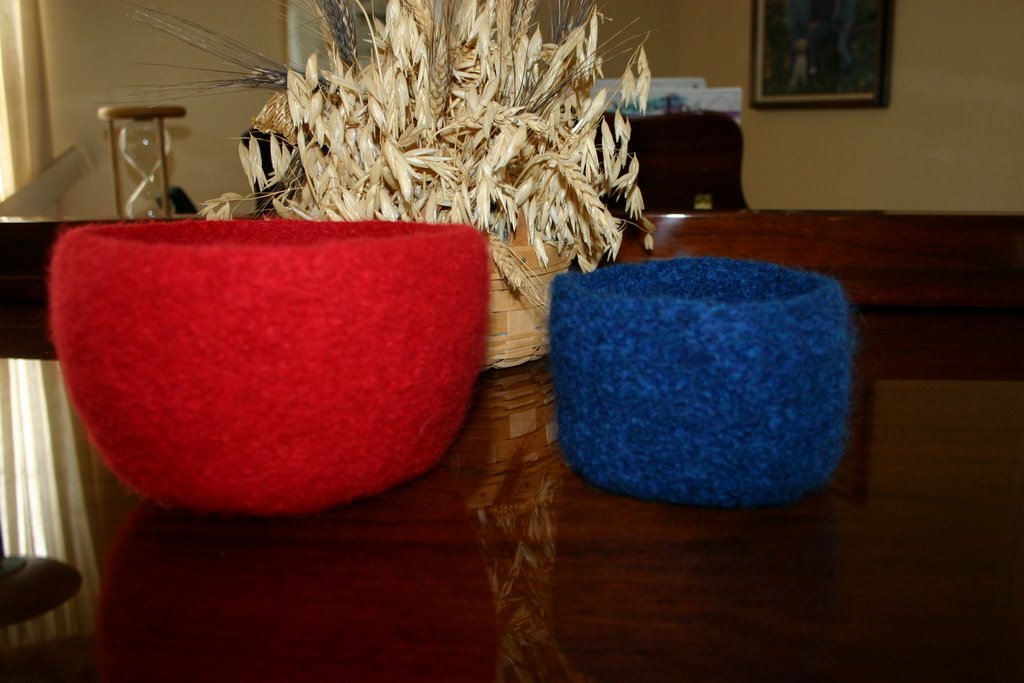
Here are a couple of felted bowls I have made from the One Skein book. They are a quick knit and turned out very cute. I think I will donate them to our church for the Christmas Walk that we are having this weekend.
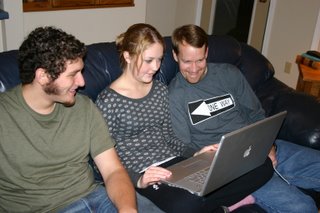


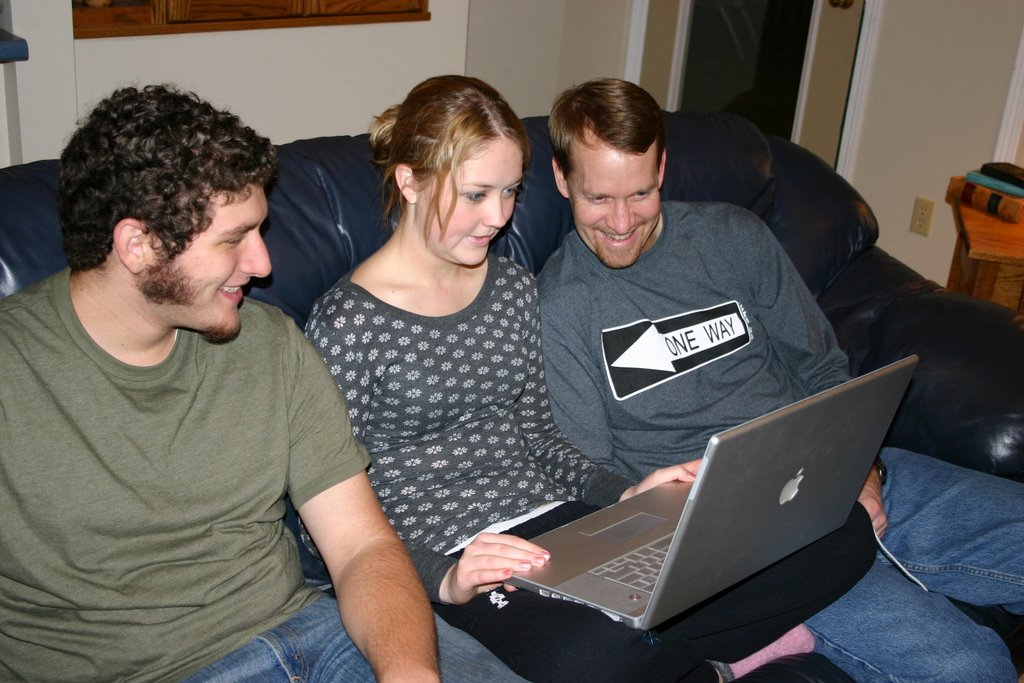
EASILY AMUSED!
Have I told you how easily amused my family is? Well, they are. Here is a common site at our house. My husband, daughter and friend gathered on the couch around the computer.

What are they looking at? Macintosh computer commericals on the internet.

Yes, we are a Mac family. Now you know.


As for me, I think I will sign off and hit my NEW knitting spot!
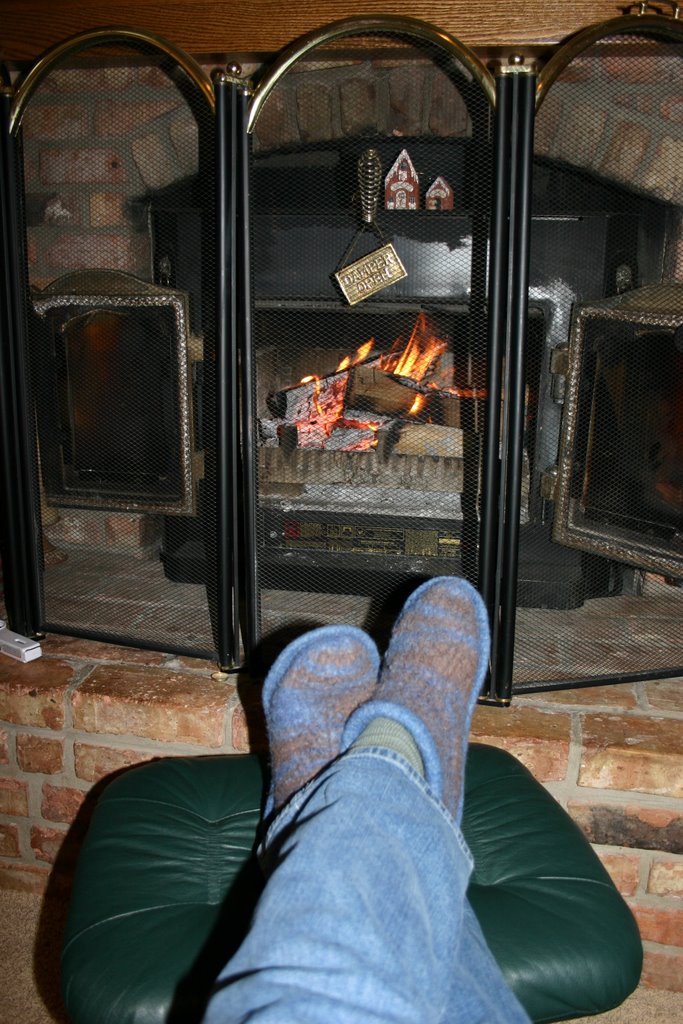
Yes, I have given up my little corner of the couch and headed to
a comfy chair that I pull up in front of the fire. You can see I have my new clogs on my feet. They only come off when I leave the house or go to bed. I'm sure I will go through a pair a year at this rate!

Until next time.....


*Newspaper Oven:
How to make a newspaper oven: Take 30 to 40 sheets of newspaper and pile every other sheet of paper on top of each other so the end result is a thick newspaper 1 1/2 times the length of an individual newspaper. Staple or tape the newspaper oven. Put together a piece of wax paper the size of the newspaper oven. Secure that onto the oven. Fold in half. When your lefses come off the gridle, pile them on top of each other and let them set in the oven for an hour or more after you’re done. Fold or cut the lefse and wrap securely. Freezes well.


Wednesday, October 25, 2006

My Fling Fix...


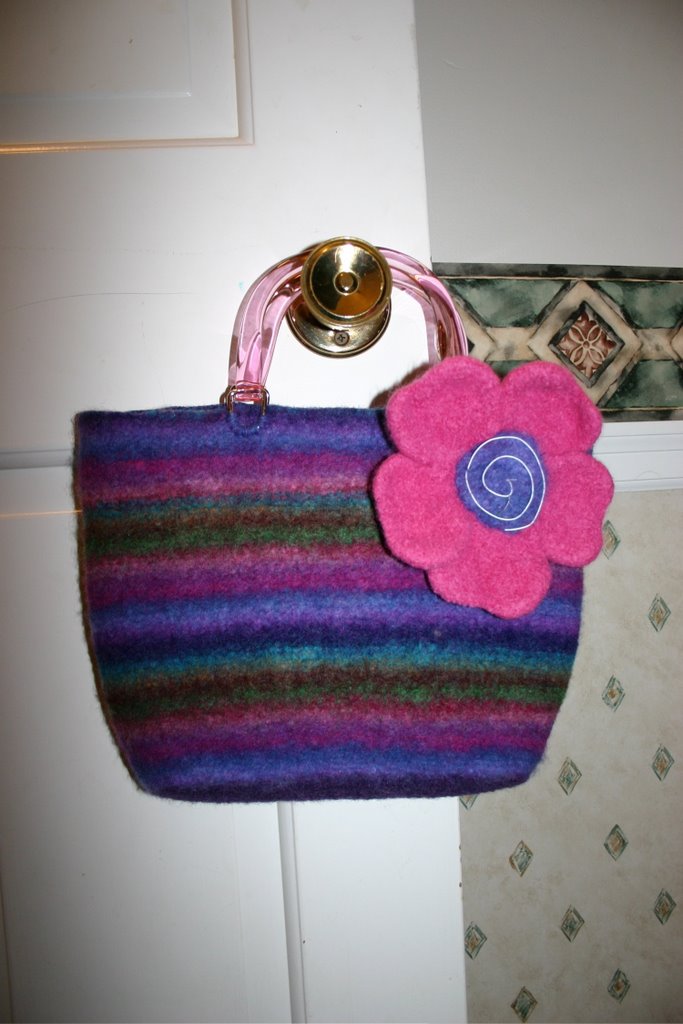
Well, I think that I have finally put the finishing touches on my Fling bag disaster. If you remember, I had knit AND felted a Fling Bag with Noro Kureyon, only to discover that I had twisted the handle when attaching it which created a disaster of sorts. I set it aside and contemplated for several weeks how to salvage what was left. Here is the before picture:

This was even with my first salvaging attempt of knitting an I-cord and hoping to attach it. No go!


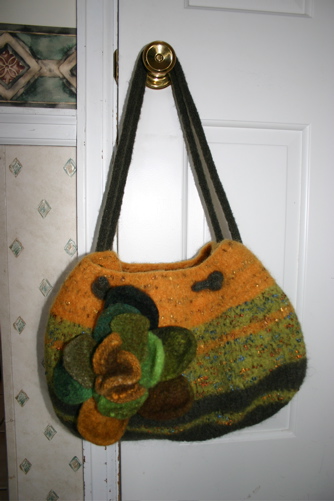
I finally took the plunge and cut the whole top part off. Added some handles and decided a fun felted flower would finish it off nicely! So, here it is. I think it's done. I think I like it. The flower looks gigantic in this photo, but really does work on it.

Maybe I should try a smaller flower, but with the time I already have into this bag, I think I need to call it good and move on!


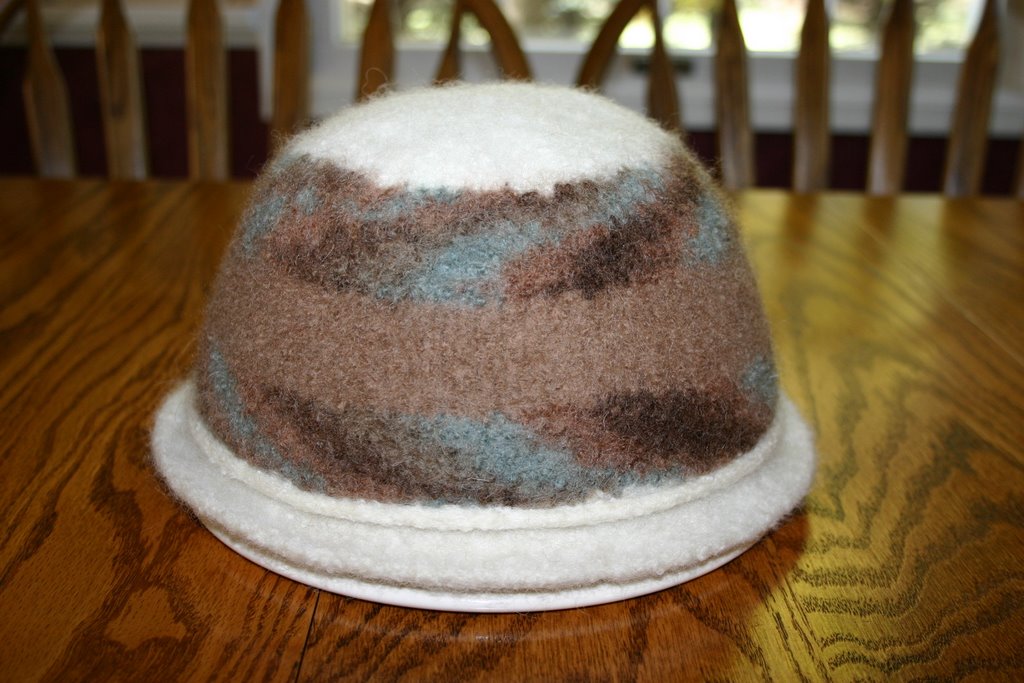
Since I am on my bag-knitting restriction (although I am happy to report I put the finishing touches on 4 bags today.. only 3 to go and I can cast on another bag!!!), I decided to knit my first felted bowl from the One Skein book. I did it in Paton's white with one of the Paton's SWS wool/soy blends. The colors are beautiful and it was soooo soft. (I think I may need a non-felted scarf out of this combination!) ANYWAYS, when my daughter saw it right before I threw it in to the washing machine to felt, she wanted it for a hat!! So I only felted it a little and she absolutely loves it! Too funny.

And so tonight, I have cast on another bowl... this time in red for Christmas. I doubt it will become a hat. But one never knows......

Tuesday, October 24, 2006

Knitting, Knitting...Must Keep Knitting...

I am an addict. It is plain and simple. I love to knit. I honestly never would have thought that I would enjoy it this much. But I do. Never have I dreamed of a very cold; very snowy winter... but I am this year because I think how wonderful to be 'stuck' at home in front of the fire knitting! OK, maybe we can forego the very cold. Very snowy would be ok.

As I mentioned earlier, I have put myself on a self-induced bag-knitting restriction. So far I have stayed on my 'diet' (unusual for me....)
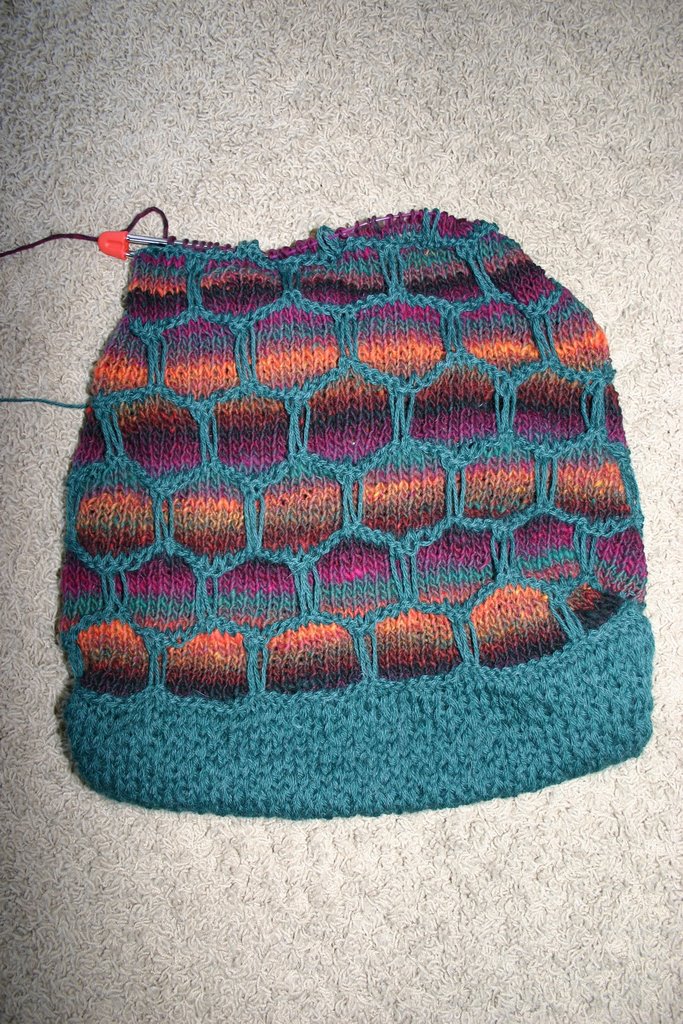
Of course, the only reason for my success is that I have replaced knitting bags with knitting hats! Here are my first two...

This is the hat you saw my son modeling on my last post. Sure wish he was in town so he could model it again and you could see his wonderful smile! But a bowl will have to do for today....

I double stranded Paton's Wool for this.. and it really is too thick for my liking...


So I had to try again, with a single strand. I'm much happier with the feel of this second hat, but not as happy with my coloring strategy.


Wish I would have put white in the middle of the two varigated sections... Oh well.
Third time's a charm I hear! (Maybe I'll have to cast on #3 today!)


Next, I was able to felt my Trellis Tote, a bag designed by Diane in Chicago, (which was a very fun bag to knit) It is not quite dry, so I haven't attached the I-cord handle to it yet or given it its' shave, but it came out better than I had hoped. I know I will get good use out of this bag. Can't wait to knit another (maybe with a flap this time).. once I'm off my 'diet', of course!


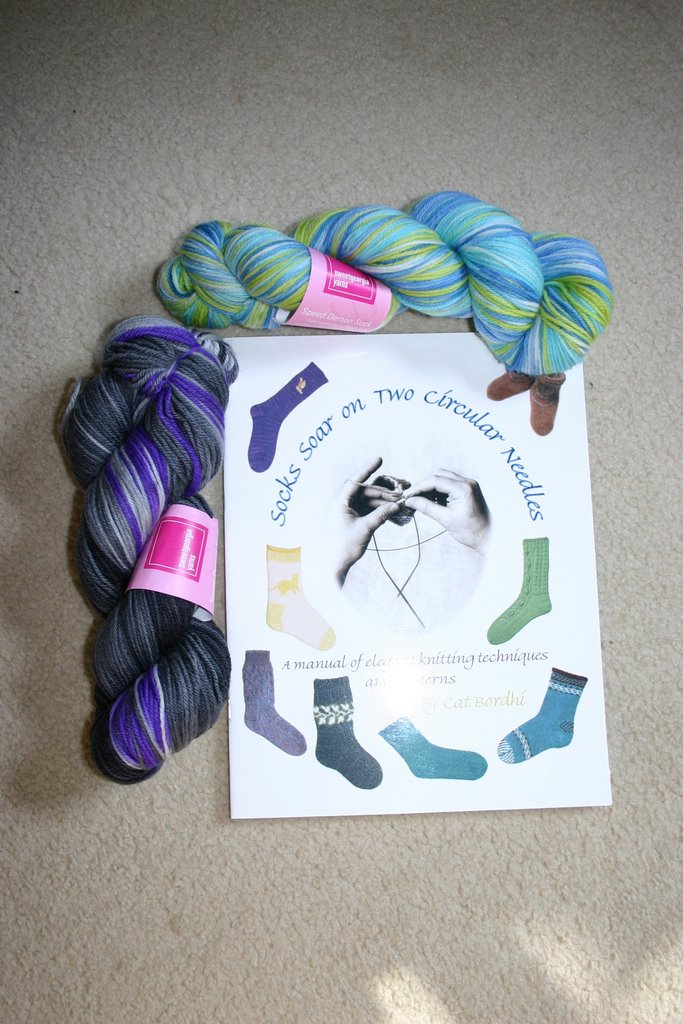
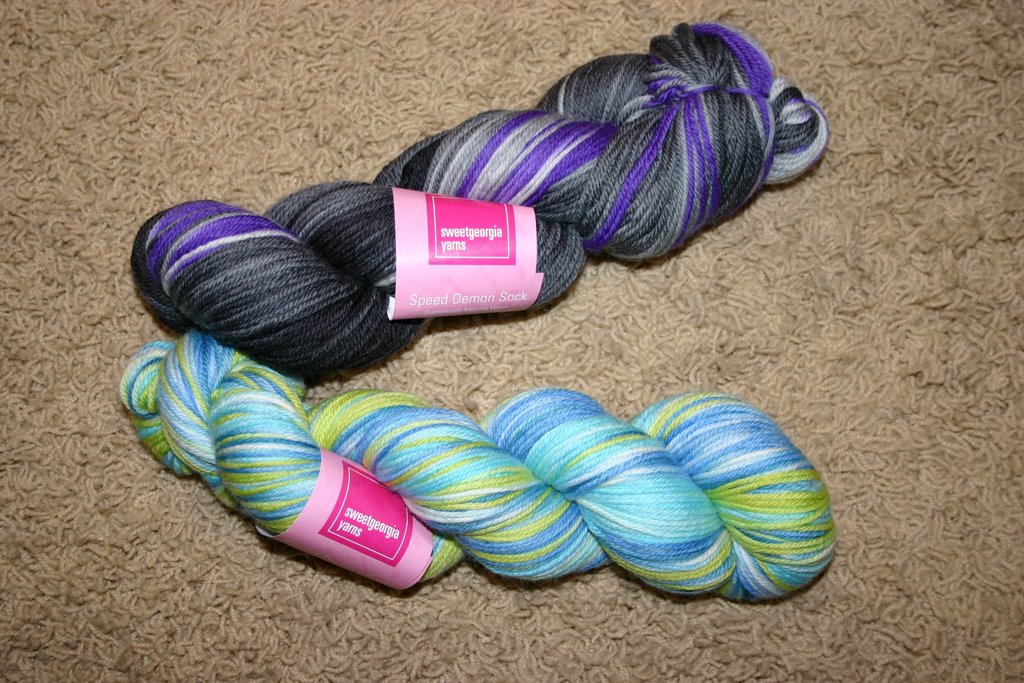
Came home from Galena this morning and my book from Amazon had arrived and was greeted warmly by my Sweet Georgia yarns from The Loopy Ewe. (which are just dying to be knit up and worn around town). I am hoping that knitting socks on two circulars will be a little easier for me with all my circular needle experience. Time will tell....


The other part of my Amazon order has not arrived yet, but I am expecting them any day... Two Lefse Aprons. For those not familiar with Lefse check back soon for photos of our first of many Lefse making days. I will be making it during our church's Fall Festival and need to make quite a bit before hand as well. It may very well be one of my favorite all time foods.
Now I got you curious.....

Sunday, October 22, 2006

A Norman Rockwell Moment......


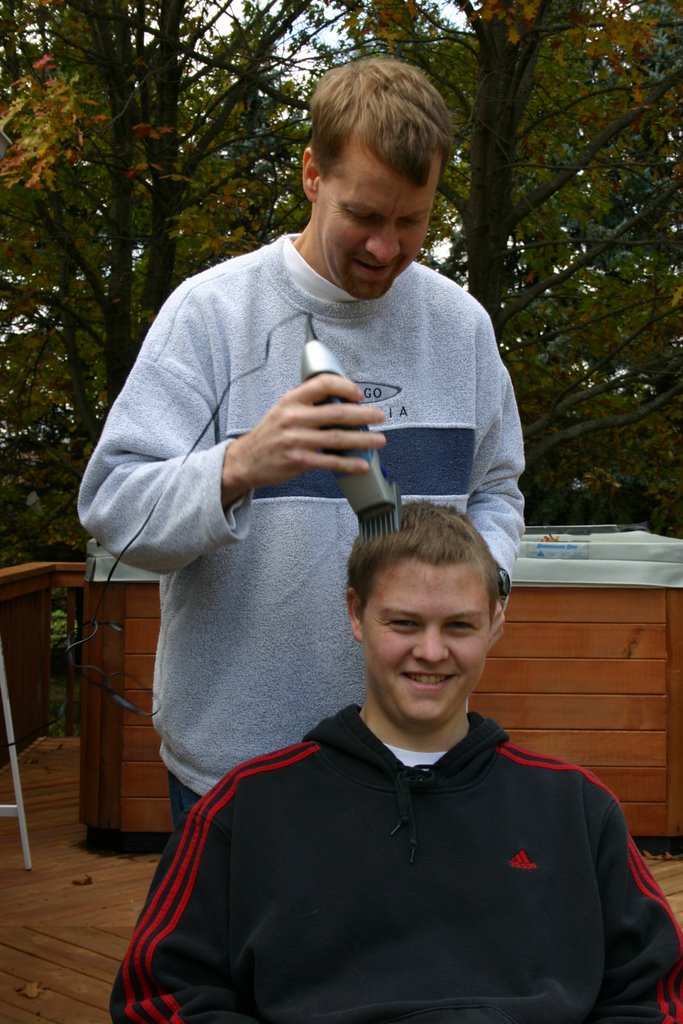
Well, maybe not exactly Norman Rockwell, but I did come across my husband giving my son a haircut out on the back deck in 32 degree weather... BRRRRRR. He came home for a visit this weekend from college. Always so good to have him home.

He chose his colors for his Fiber Trend Clogs which I hope to have done for him when he comes home for Thanksgiving. Black and Gray were his choices. With a size 13.5 foot, they may take awhile to knit!!


I decided to put myself on a bag-knitting probation until all the bags in my 'yet to be finished' basket have the finishing touches done on them. So what did I do... I cast on a hat and got that knit and ready to felt when I go to Galena tomorrow. Aaron volunteered to 'model' it for me. Doesn't he look nice? Just wished he would have smiled!

I had debated not felting it, as it covers a bad hair AND a bad make-up day.... but it is not that flattering. This was a quick knit and I am excited to see how it turns out.


Aaron's only food request for the weekend was Fajita's. Both boys LOVE them and it is their meal of choice. I usually use Skirt Steak which is the best meat for it.. but the meat locker was all out, so I had to settle for Flank Steak. Still was quite good. The marinade is very simple but very good. I use equal portions of Soy Sauce; Worchestshire Sauce and Lime juice. Marinate overnight and then grill. I also marinate thick onion slices in the same marinade and throw them on the grill as well. (They are probably my favorite part of the whole fajita.) I've also done green and red peppers as well...

Well, time for the Vikings game (which means knitting.....) so I'll make this short. Hope to have my Trellis tote and hat felted and ready to post in a couple of days.

Good bye for now...

Thursday, October 19, 2006

One Llama..Two Llama...


So, the question is, what is cuter than a baby llama? Answer: TWO baby llamas! There is another baby llama next door.. a little boy... and it is so fun to watch the two babies run and play and pick on all the adult llamas! I can watch them as I sit on my little corner of the couch knitting! You can see from their coloring that they look alot alike!


I have been spending some time trying to put the finishing touches on some of my bags. I sure love to knit and felt them... but adding snaps; linings; handles etc... is another story! I did put the leather handles on my ballband bag and am very happy with how it came out. I can tell this will be a fun bag to carry.


The next project was trying to 'save' my Fling bag disaster. I found some handles that I thought went well and attached them. I am now attempting my first felted flower that I may attach to the front. If it turns out, I will post a picture of the totally finished bag. But for now, I am relieved to have salvaged this bag.


My husband and I did a talk today at our local MOPS (Mothers of Preschoolers) group on marriage... so we have been working quite a bit on that during the past week. In between time, however, I have tried to press on with my current projects....

Drumroll please...... I finished the heel of my first sock and am knitting up homestretch. The heel wasn't as bad as I had thought. (Thanks to Sheri at the Loopy Ewe who wrote me out step by step what to do!!)
Here it is: (Sure hope it fits!!)


My Trellis tote is coming along nicely.. Only 1 1/2 windows left to go and I can finish off the top; knit the handle and felt away.


IN THE KITCHEN:
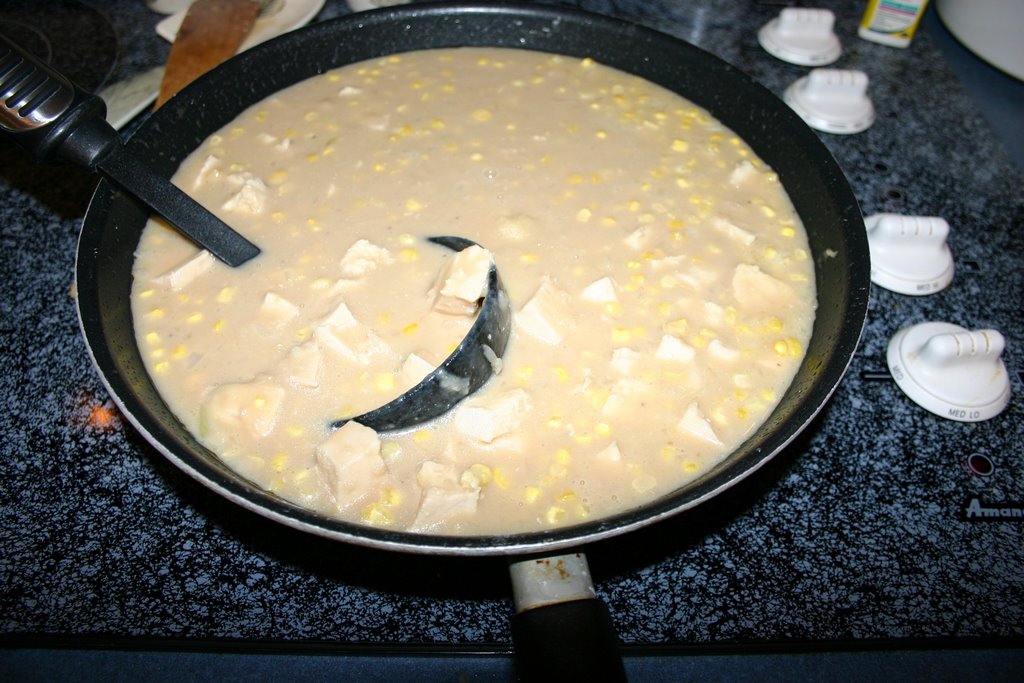
Well, on the stove is a pot of comfort food.... Chicken and Gravy. This is one of the staples around here and is the meal I often take to someone when the need arises because everyone loves it.

Chicken and Gravy


1/ 3 cup margarine or butter
1/ 3 cup flour
1/ 3 cup chopped onion
1/ 2 teaspoon salt
1/ 4 teaspoon pepper
1 & 3/ 4 cup chicken broth (1 - 14 ounce can)
2/ 3 cup milk
2 1/ 2 - 3 cups cup-up cooked chicken

1. Heat butter in 2-quart saucepan over medium heat until melted.
2. Stir in flour, onion, salt and pepper. Cook, stirring constantly, until mixture is bubbly; remove from heat.
3. Stir in broth and milk. (I also add several drops of Kitchen bouquet gravy browning sauce)
4. Heat to boiling, stirring constantly. Boil and stir 1 minute.
5. Stir in chicken (and frozen vegetables, if desired).
6. We also often serve over rice; mashed potatoes or puff pastries (found in frozen section of grocery store.)


Happy Cooking! Happy Knitting! Be Happy!

Monday, October 16, 2006

Progress Report.....

Well, some of you may remember my previous post when I showed my very slow progress on my first pair of socks.... Well, I am happy to report that I have made a decision and I CHOOSE to love sock knitting! And so, with that choice made (for reasons I will explain in a bit) I would like to show you the status today of that very same sock....


Ok... How exciting is that?? I am now stuck, of course, until my daughter has time to help her mother figure out the whole heel thing, but I do believe they will soon be on my feet! Don't you love the colors? They go perfect with jeans (which I wear everyday!)


Ok, and now the reason I am choosing to LOVE sock knitting.... Because I cannot stay away from The Loopy Ewe and all the fun yarns that Sheri carries. Every time I visit her site and read her blog I just know that I have to do it. I HAVE to be a sock knitter!


This box came Saturday from The Loopy Ewe.
It is some new yarn that she has called Sweet Georgia Yarn. It feels so yummy. And now she has some All Things Heather yarn that I am pretty sure I need....


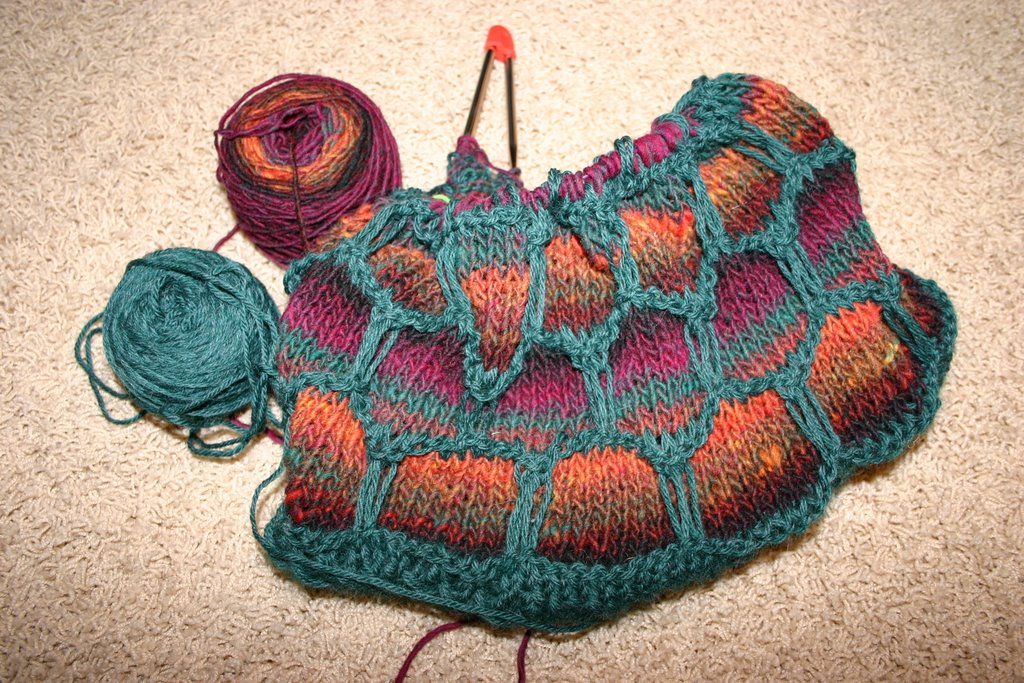
On the bag front, I am currently working on the Trellis Tote. I loved this bag the moment I saw the pattern and knew I had to try it. Designed by Diane in Chicago, it is basically a slip stitch pattern (like my ballband bag). I am knitting this with a Galway Highland Heather and Noro. Can't wait to felt it.


I am also ready to cast on my next modified Vintage Bubble Bag. Not sure yet how I will work these colors exactly but they are beautiful. I know that this project will have to come after my husband's clogs.. because he keeps asking me if I have started them yet... Too many projects.. too little time.


So I should sign off and head back downstairs to my little corner on the couch where I love to knit ... with Little Sumo laying on my feet keeping me company. (ok, he is not so 'little' but this is what we have always called him.. even when he tipped the scale at over 100 pounds!)


Until next time....