
Well, I have had numerous requests for my biscotti recipes and thought it may be time to post a Biscotti tutorial! I am certainly no expert, but I do love it and am trying to master the art. I would like to start out with this photo of myself and my Kitchen Aid mixer. I LOVE my mixer. I use it everyday. It is a workhorse and never lets me down. And it is the starting point of all my biscotti.....
With that said, I will move on to the basic Biscotti recipe:
Biscotti
2 large eggs
2 large egg whites
1 tsp. vanilla
1 cup granulated sugar
2 cups unbleached flour
1 tsp. baking soda
1/4 tsp. salt
3/4 cup almonds
1. Preheat oven to 325 degrees.
2. Lightly grease cookie sheet with vegetable oil.
3. In a large bowl combine eggs, egg whites, vanilla. Mix well.
4. Add sugar, flour, soda and salt. Beat until dough forms. Stir in nuts.
5. Put dough on lightly floured board. The dough will be very sticky.
6. With clean floured hands and with the aid of a scraper, knead dough several times. Divide dough in half.
7. Be sure to keep hands well floured and form dough in to 2 flatish logs, 15 inches long, 2 inches wide.
8. Place logs on a baking sheet 3 inches apart. Bake for 40 minutes.
9. Remove from oven and cool 10 minutes.
10. AFTER the 10 minutes reduce heat to 275 degrees.
11. On cutting board, diagonally cut 3/4 inch slices. Arrange slices on baking sheet and bake 10 - 12 minutes. Flip cookies and bake another 10 - 12 minutes.
12. Turn off oven and let crisp for 15 minutes.
13. Remove and cool completely.
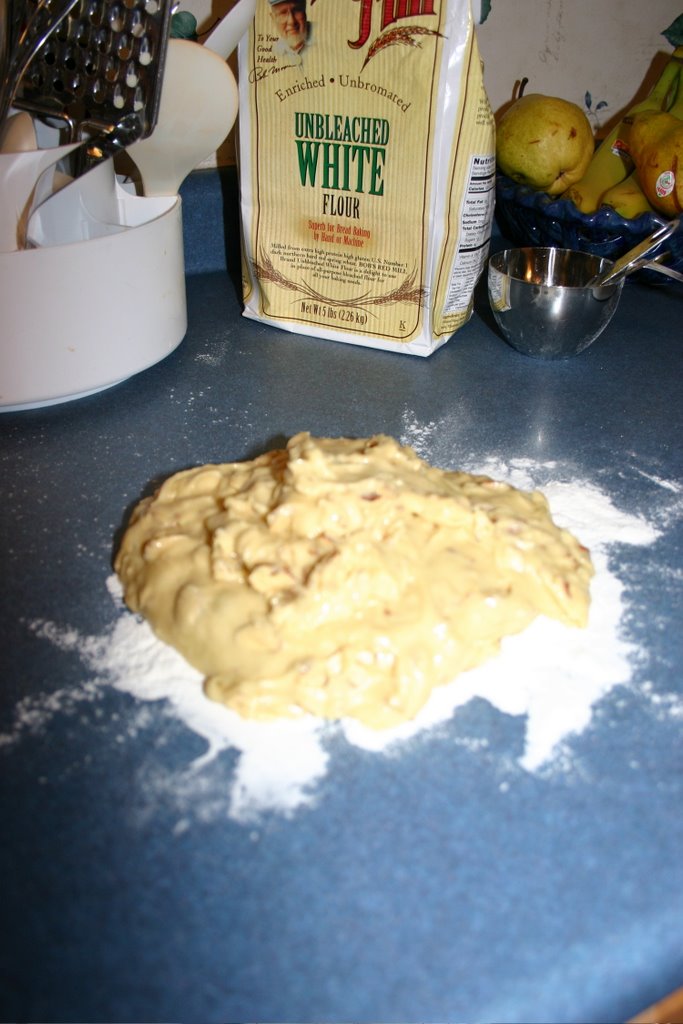
Now, for some pictures.... After you have the dough mixed, put it on a floured board, or countertop. The dough will be quite sticky at this point. Gently knead the dough with the flour until the stickiness is about gone. ( I like to make sure my hands are well floured, as well as the counter top.)
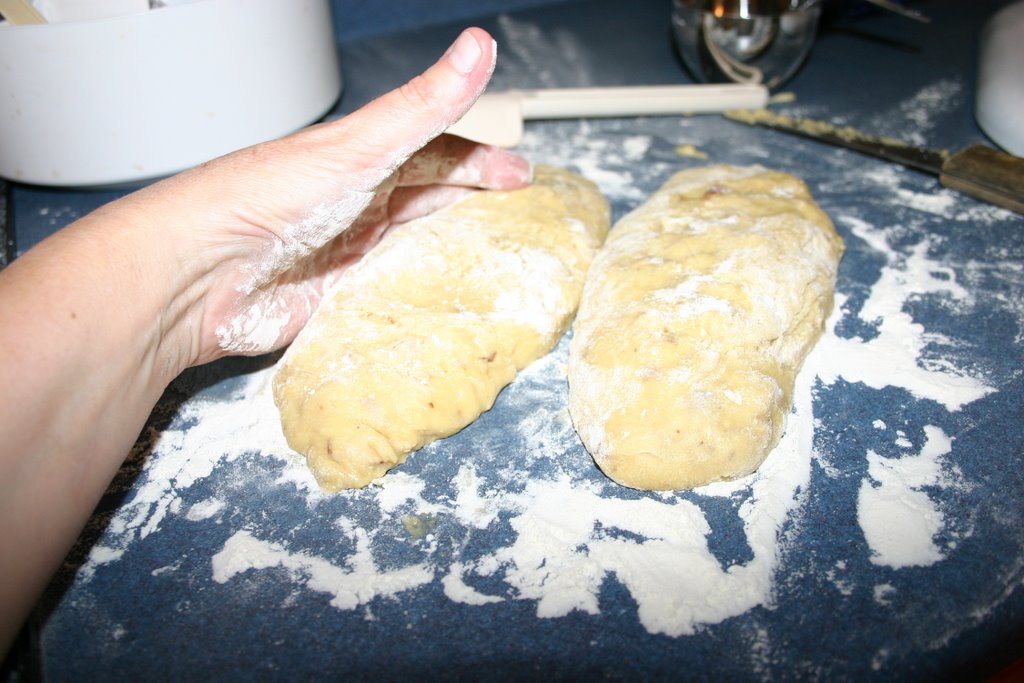
Once you have done this, divide the dough into 2 equal pieces.

Being sure to keep your hands well-floured transfer the two biscotti pieces onto a cookie sheet that has been lined with Parchment paper.
Shape each into a log that is about 15 inches long and two inches wide. They are now ready for their first trip to the oven. This batch will bake at 325 degrees for 40 minutes.
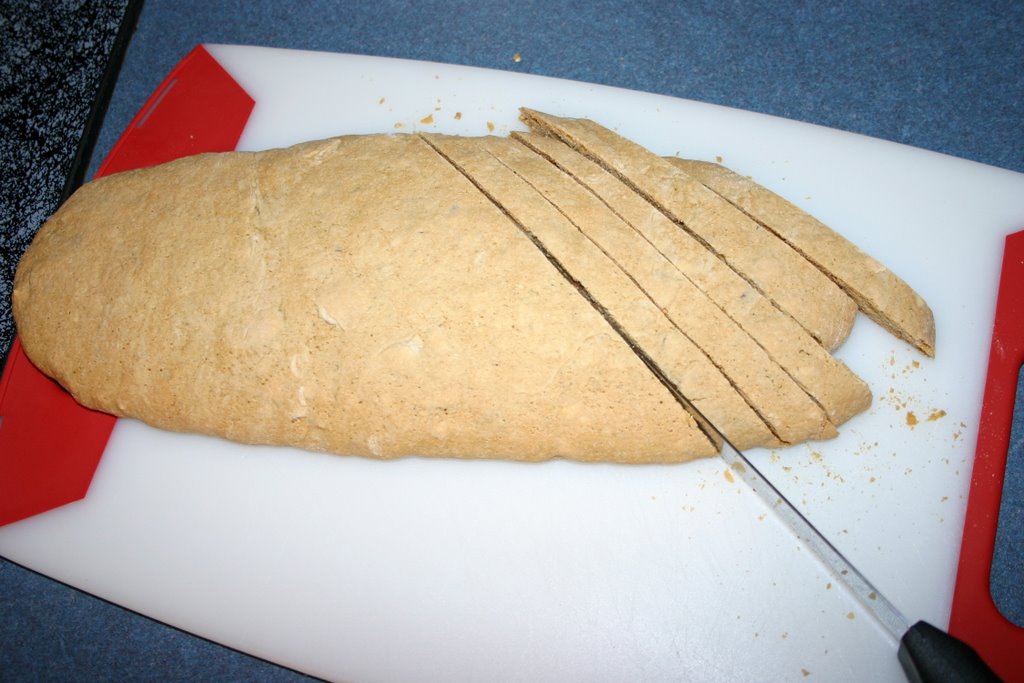 After the 40 minutes, take the biscotti out and allow to cool for 10 minutes. You will then transfer the biscotti to a cutting board and cut it diagonally in about 3/4 inch slices. The very end slices should be cut and eaten immediately by the cook!! (At least, this is what I have always done and it seems to help!)
 After the 10 minutes; turn the oven down to 275 degrees. Place the cut biscotti on it's side on the baking sheet and return to the oven for 10-12 minutes. Flip the biscotti and bake another 10-12 minutes. After that, turn the oven off and let sit in the oven for another 15 minutes to let crisp.
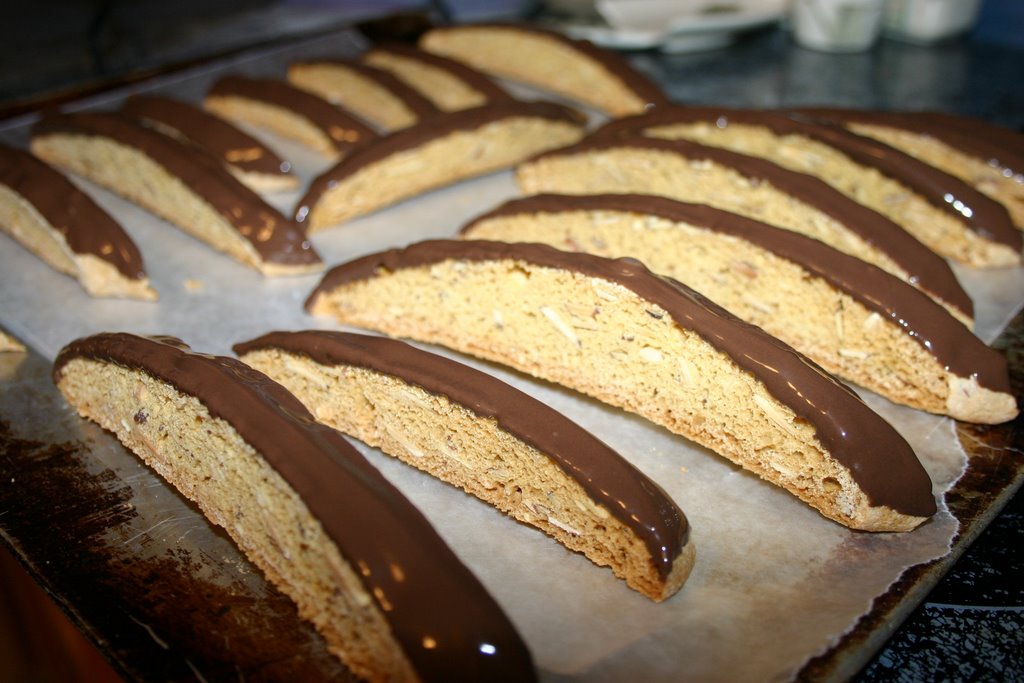 For all practical purposes, your biscotti is now done. But what is good, can be made GREAT with the simple addition of chocolate!! I like to use the boxed Ghiradelli Double Chocolate melting chocolate that I get at our local Sam's Club. It's the best. Here I have dipped the tops of the biscotti to ensure a little chocolate with every bite.
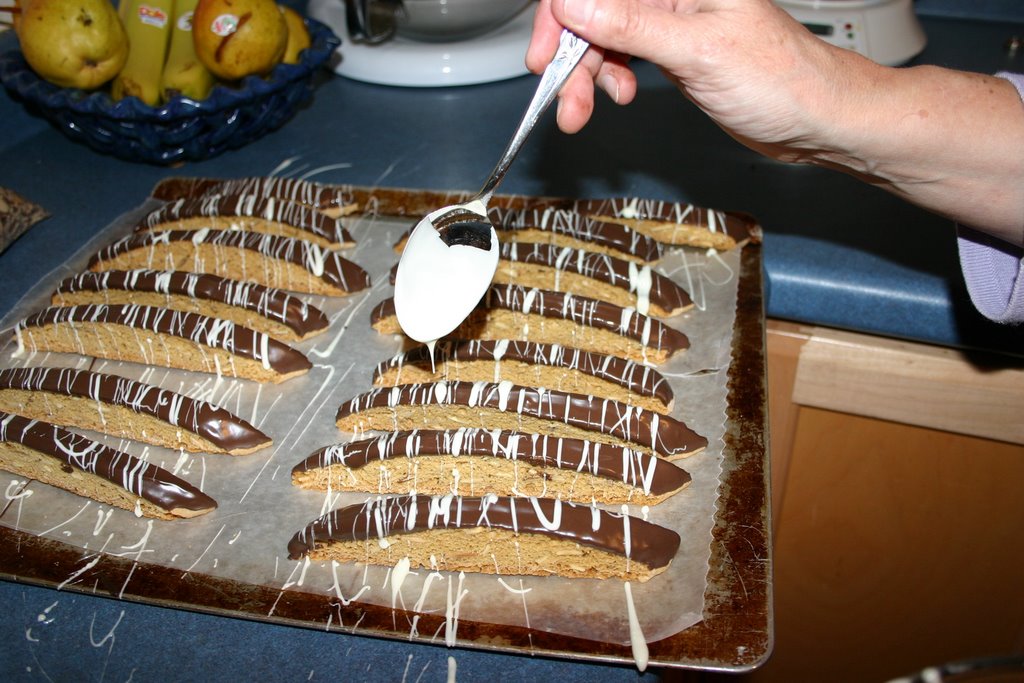 The Ghiradelli White Chocolate can be drizzled on the biscotti for added pizzaz.
Now, grab a cup of coffee and enjoy!

Oh, and what have we here? My daughter with spoon in hand dipping into the leftover melted chocolate and trying to make off with my boxes of dipping chocolate. Well, at least she's not trying to steal my biscotti......

And now all this baking has bought me some KNITTING TIME!! (which is the real reason I bake!!) I have my yarn ready to cast on the newest bag for my Bag-a-Holic group... The RunAmok KnotSewHobo bag. I have been wanting a basic blue bag and I think this is the perfect pattern for it. I have a busy few days ahead getting ready for our church's Christmas Festival, but I hope to sneak in knitting now and then.

I'm also working on this Irish Hiking Fingerless glove. I need to learn the mattress stitch to do the seam and then knit the second one, but I am very excited about these. I have never cabled before, so this was a first. I have some practicing to do, but I am so happy with how it turned out. Hope to wear them next week....
Well, off to try my biscotti...


7 comments:
Mmm-I love biscotti! Thanks for the recipe.
OOOH OOOH I luuuuuuuvvvvvv biscotti. Thanks for the recipe but it would be much easier for me if you would just send me a batch!
Just a thought.....
:o)
Bonnie,
Give a woman a piece of biscotti..she eats for a day.. Teach a woman how to MAKE Biscotti and she eats for a lifetime...
Darn the luck!
I wandered over here from the International Tote Exchange II blog.
You've just given me a great idea for a couple holiday gifts with the biscotti.
Now, if I can just get the drool off the keyboard...
Katy,
If you email me, I have 3 more wonderful biscotti recipes that I would be happy to send you. They do make wonderful gifts! You can buy clear 'treat bags' in the baking section of Walmart or Hobby Lobby etc.. that fit the biscotti beautifully and look really nice.
Your biscotti look fabulous. i'm going to have to try them! Thanks for the recipe. Your cornbread rolls were a big hit with my family :)
Post a Comment